- Metrology - Laboratory >
- Metrology and Test Equipment >
- Concentricity test bench
Concentricity test benches
{{product.productLabel}} {{product.model}}
{{#if product.featureValues}}{{product.productPrice.formattedPrice}} {{#if product.productPrice.priceType === "PRICE_RANGE" }} - {{product.productPrice.formattedPriceMax}} {{/if}}
{{#each product.specData:i}}
{{name}}: {{value}}
{{#i!=(product.specData.length-1)}}
{{/end}}
{{/each}}
{{{product.idpText}}}
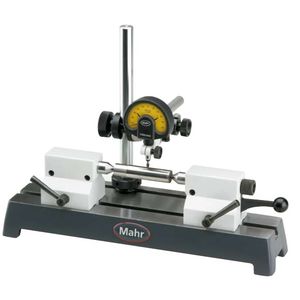
... precise results Radial run-out gages are the simplest method of detecting positional and form errors on shafts in a close-to-production environment. Due to the variety of models, the robust MarStand radial run-out ...

... compressed gas cans with the corresponding test gases (1 vol.% - 2.2 vol.% - 100 vol.%) To the test station. However, if you are using several gases continuously, we recommend purchasing one of the larger ...
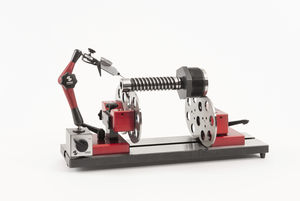
Art.# 6.300 Run Out Tester Base plate length 500 mm Technical data: •Discs Ø 120×4 mm •Diameter compensation max. 60 mm •Workpiece Ø max. 240 mm •Workpiece weight max. 25 kg •Groove stone width 14 mm

Testing system for concentricity and axial run out for checking heavy axis shafts on rolling blocks (max. error <5μ).
ULTRA PRÄZISION MESSZEUGE
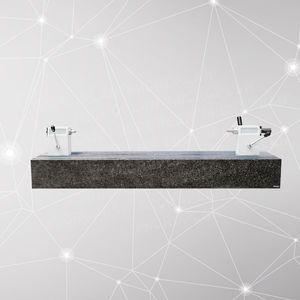
... series, manufactured by Microplan, is a concentricity test bench equipped with a pair of cross-points (CP) and a black granite base. It has dimensions of 200 x 2500 x 500 mm and weight ...

... and portable concentricity fixtures for use if your part cannot be placed on a CPF fixture. Contact us for details. CPF Fixture Features: .0001" grad. large format double dial test indicator .00005" ...
Dorsey Metrology International

The test stand is designed for measurement of functional values of drive shafts. The function test stand is used to perform various metrological tests ...
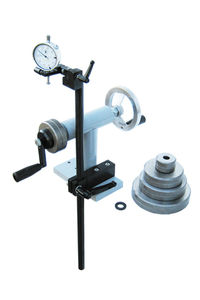
For all types of circular saw bladesfrom 80 800 mm dia. Accessories: 1 set of flanges 50 mm dia., 80 mm dia., 100 mm dia., 120 mm dia., 150 mm dia Optionally available at an extra charge 200 mm dia., and 250 mm dia. flanges
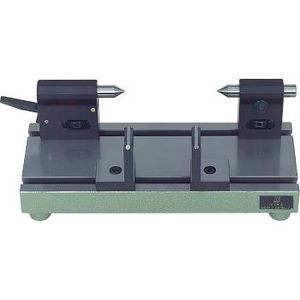
Universal bench for shaft control. Cylindrical items can be controlled. Assembled with the appropriated parts, diameters, conicities, lengths and concentricities can be controlled. Two “V” blocks or ...
Bocchi
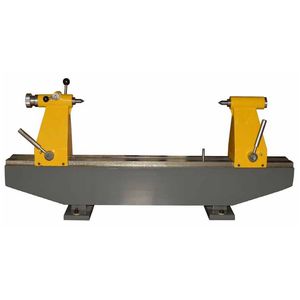
Hardened bench center MICROTECH for check run-out cylindrical and tapered parts. Can have ranges 300 500 1000 1500 and 2000mm (12 20 40 60 80 inches) Made form cast iron with surfaces finishing.Precision bench ...

The bench performs tests based on the standards and according to the test procedures of the OEM car manufacturers. The machine performs customized radial and lateral run-out tests ...
Test Industry

... Black Gages are guaranteed to be better than ≤ 4µm (.00016") accuracy. Precision Gold Gages are guaranteed better than ≤ 2µm (.00008”) accuracy. #A-10 Standard Concentricity Gage ...
Universal Punch Corp
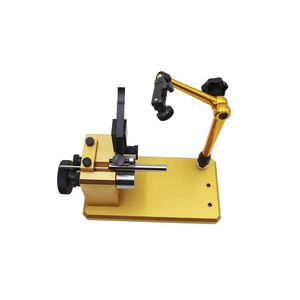
1.Quick measuring,no need for re-tooling 2.Convenient operation,wide range of application. 3.Easy to move,simple to maintain. 4.Demand for operating environment is common
Your suggestions for improvement:
Receive updates on this section every two weeks.
Please refer to our Privacy Policy for details on how DirectIndustry processes your personal data.
- Brand list
- Manufacturer account
- Buyer account
- Our services
- Newsletter subscription
- About VirtualExpo Group


Please specify:
Help us improve:
remaining