- Metrology - Laboratory >
- Inspection and Monitoring >
- Gap measurement inspection system
Gap measurement inspection systems
{{product.productLabel}} {{product.model}}
{{#if product.featureValues}}{{product.productPrice.formattedPrice}} {{#if product.productPrice.priceType === "PRICE_RANGE" }} - {{product.productPrice.formattedPriceMax}} {{/if}}
{{#each product.specData:i}}
{{name}}: {{value}}
{{#i!=(product.specData.length-1)}}
{{/end}}
{{/each}}
{{{product.idpText}}}

... bundle to measure trailing edge gaps while the other camera images the upstream front face of the bundle to measure leading edge gaps. A pair of lights near each camera ...

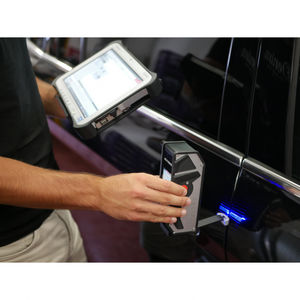
... hand-guided gap & flush measuring system for taking continuous inline measurements . The systems are designed for extremely simple operation and most ...
NEXTSENSE GmbH

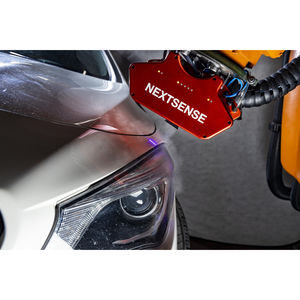
... points. The measurement is then carried out with a swivelling movement of the sensor. The sensor records the contour from different perspectives - down to the depth of the gap or completely around a fold ...
NEXTSENSE GmbH

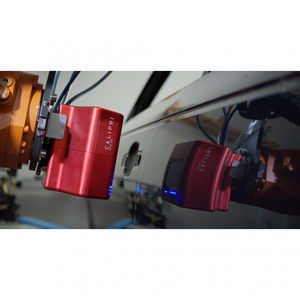
CALIPRI C12 is a gap and flush measurement system that can be fully integrated into the line and is used for full checks of automobile bodies. The system can be used ...
NEXTSENSE GmbH

... Calipri system can evaluate gaps directly next to the workers of the assembly line without any barriers. All Calipri systems automatically compensate tilt and roll of the sensor and reproducible ...
NEXTSENSE GmbH

The machine is mainly used for the Gap & Step inspection for power plugs 1, Good module design compatibility, applicable to European regulations, US regulations, British regulations, etc.. 2, High ...
Your suggestions for improvement:
Receive updates on this section every two weeks.
Please refer to our Privacy Policy for details on how DirectIndustry processes your personal data.
- Brand list
- Manufacturer account
- Buyer account
- Our services
- Newsletter subscription
- About VirtualExpo Group


Please specify:
Help us improve:
remaining