- Metrology - Laboratory >
- Metrology and Test Equipment >
- Standard
Standards
{{product.productLabel}} {{product.model}}
{{#if product.featureValues}}{{product.productPrice.formattedPrice}} {{#if product.productPrice.priceType === "PRICE_RANGE" }} - {{product.productPrice.formattedPriceMax}} {{/if}}
{{#each product.specData:i}}
{{name}}: {{value}}
{{#i!=(product.specData.length-1)}}
{{/end}}
{{/each}}
{{{product.idpText}}}

... the production line or on site. Calibration foils or shims are the most convenient way of creating a coating thickness standard on the substrate material, surface finish or form. Shims provide the ideal method for ...

In order to check the viscosity cup’s calibration or to certify it for ISO purposes, it is imperative that viscosity cup standard calibration oils are used. Standard oils have a specific ...

Setting dimensions for conducting comparative measurements for micrometers and passameters. Technical Data Setting gauges for micrometer 710: • error limits according VDI 2618 BC. 4.4 • special steel • hardened measuring faces • ...

... calibration standard for polarimeters and saccharimeters. Every Rudolph calibration standard is manufactured using extremely stable crystalline quartz which is manufactured and polished to specific planeness, ...
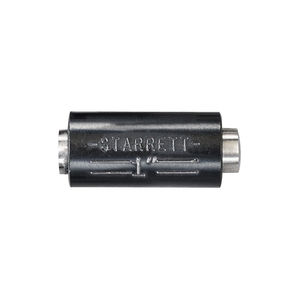
Micrometer standards are fixed gages, with a fixed dimension, used to perform a basic field checks on micrometers and other linear precision measuring tools.
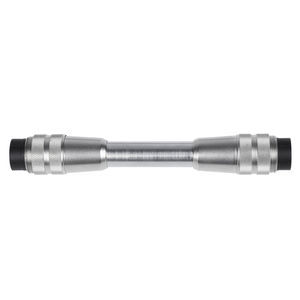
... dividers. Each probe simulates a given length very accurately. Reference probes are connected to the instrument instead of standard probes for checking or calibrating electronic devices that can be connected to TESA ...
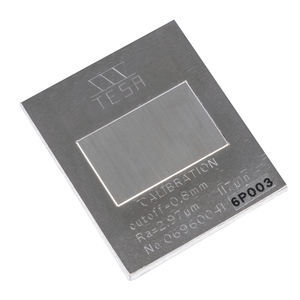
Standard - ISO 5436-1 06960041 - Weight [g] - 21 - Weight [lb(s - 0,0463 06960066 Weight [g] - 4 - Weight [lb(s - 0,0088 06960065 Weight [g] - 38 - Weight [lb(s - 0,0838 06960064 Weight ...

Max. perm. errors - ± (1 + L/100) µm, L in mm Material - Tempered measuring faces Diameter - Length: ≤ 175 mm: Ø 10 mm > 200 mm: Ø 13 mm 02140001 Max. perm. errors [µm] - 1 + L/100 - Diameter [mm] - 10 - Weight [g] - 12 - ...

... capacitance standards are designed for calibration of ohmmeters, LCR meters and insulation testers. Alternatively, MTE standards can be used as transfer standards, keeping traceability ...
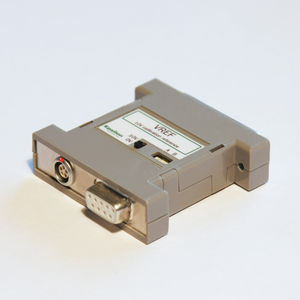
10V calibration reference for high level devices. Like the shunt calibration module for strain gaged extensometers, the VREF module is used to transfer Epsilon’s calibration to a customer’s electronics. • Calibration only requires ...

Various calibration specimens Made of metal or glass

25μm polyester film oxygen permeability reference material National Certified Reference Material This reference material is polyester (PET) film, whose thickness is 25μm. It can be applied to food, drug and electro-mechanical industries ...

Calibration standard / film water vapor permeability reference material This reference material is polyester (PET) film, whose thickness is 125μm. It can be applied to food, drug and electro-mechanical industries and ...

calibration standard / gas permeability reference material Certificate of Identification of Reference Material 125μm polyester film gas permeability reference material This reference material is polyester (PET) ...

... manufacturing top precision calibration standards of the highest reliability since 1943, creating models suitable for any application. Our experience in metrology has allowed us to perfect our instruments to the highest ...
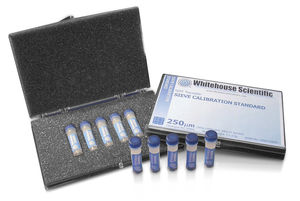
Test sieves calibration samples supplied by Endecotts are microspheres formed of soda-lime glass that range from 3.35 mm down to 20 microns. Because of the precise nature and extent of the range of spheres, samples can be supplied to ...
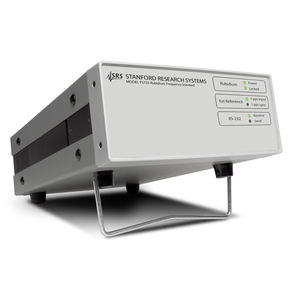
... The FS725 is an ideal instrument for calibration and R&D laboratories, or any application requiring a precision frequency standard. There are two 10 MHz and one 5 MHz outputs with exceptionally low phase noise of (-130 ...

... high accuracy and super high accuracy options. The high accuracy standards have a transfer uncertainty relative to the NIST Scale of ± 1 - 2%, and the super high accuracy standards have a transfer ...
Gooch & Housego
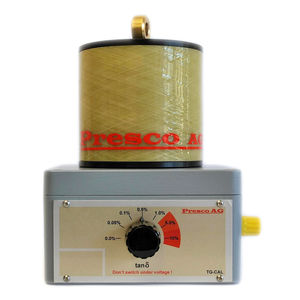
- built-in ultra stable standard capacitor 100 pF / 12 kV - easy check of tan delta over a wide range - full traceability to international standards - rugged construction for field use
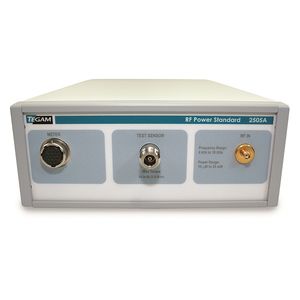
... Power Transfer Standards enable the precise measurement of microwave power in the 9 kHz to 18 GHz frequency range. These standards are highly accurate and stable with time and temperature. The Model ...
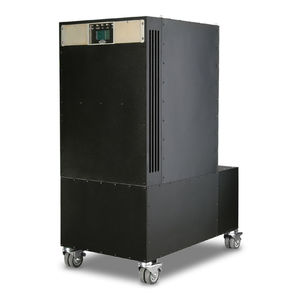
... enables the MHM 2010TM to deliver long-term frequency stability normally only attributed to the most stable cesium atomic standards. Hydrogen masers operate on the principle that when hydrogen atoms are provided the proper ...
Microsemi
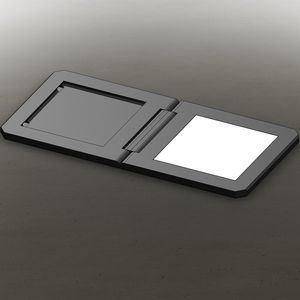
Very flat reflection standard (white) made of optical PTFE for (almost) perfect diffuse reflection in a handy housing PTFE # Reflection > 98 % @ 400 nm to 800 nm # Reflection > 93 % @ 250 nm to 2,500 nm # Usable ...

Manufactured in accordance with ISO 5436 for the calibration of probe roughness tester. Mounted on metal supports and available in two versions: standard and with special nickel/boron coating.
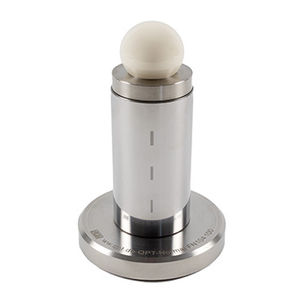
for testing the functionality of your form-measuring station, incl. quality test certificate. The form standard has specific traceable reference profiles. Ceramic calibration ball Roundness deviation approx. 0.1 μm ...
QPT GmbH

Density standards by Schmidt + Haensch deliver high precision over the whole measuring range. The reference liquids are traceable to PTB standards and allow for high-quality verification, calibrating, ...

Refractive index standards by SCHMIDT + HAENSCH with high precision over the whole temperature and wavelength range. The reference liquids are traceable to PTB standards and allow for high-quality verification, ...

• Traceable to national standard • Inexpensive calibration on site • Simple and safe use • Unlimited lifetime as long as the glass ampoules are kept sealed Salt solutions Equipped with Rotronic humidity standards, ...

Calibration standards Calibration standards enable the calibration and comparison of measurement instruments to absolute measurement quantities. Calibration standards provide a reference ...
Gigahertz Optik GmbH

Calibration standards Calibration standards enable the calibration and correction of measurement instruments to absolute measurement quantities. Calibration standards provide a reference ...
Gigahertz Optik GmbH

Calibration standard lamp for use as reference spectral irradiance standard One of the most common optical radiation measurement quantities is irradiance. This measures the radiation power incident ...
Gigahertz Optik GmbH
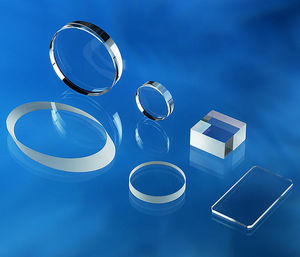
Dimensions Edge length 0.5 mm – 100 mm Round: diameter 0.5 mm – 100 mm Thickness 0.05 mm – 100 mm Tolerances Diameter or edge length: ± 0.1 mm Parallelism of planar faces: < 1” Thickness: up to ± 0.0005 mm
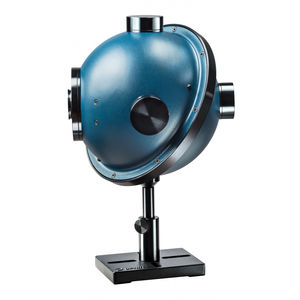
The IS6-C is a 6” integrating sphere (5.3” inside) for use with collimated (C) beams. It has no detectors, where the detection configuration for the IS6-C is done by the user. It can also be used as a uniform light source. Specification Aperture: ...
Your suggestions for improvement:
Receive updates on this section every two weeks.
Please refer to our Privacy Policy for details on how DirectIndustry processes your personal data.
- Brand list
- Manufacturer account
- Buyer account
- Our services
- Newsletter subscription
- About VirtualExpo Group




Please specify:
Help us improve:
remaining