• Products
  • Catalogs
  • News & Trends
  • Exhibitions

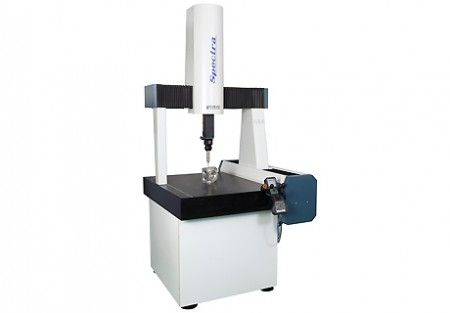
Bridge coordinate measuring machine SPECTRA
gantryfor automotive applicationsmulti-sensor

bridge coordinate measuring machine
Add to favorites
Compare this product
 

Characteristics

Structure
bridge, gantry
Applications
for automotive applications
Probe type
multi-sensor
Other characteristics
high-precision
X travel

Max.: 800 mm
(31.5 in)

Min.: 500 mm
(19.69 in)

Y travel

Max.: 1,500 mm
(59.06 in)

Min.: 600 mm
(23.62 in)

Z travel

Max.: 600 mm
(23.62 in)

Min.: 400 mm
(15.75 in)

Description

- Proven design with all granite construction for stable performance, Wrap around air bearing construction for high acceleration and stability. - Zero hysterisys belt drive for smooth repeatable movement - X & Z axs guide ways made hollow reducing mass to achieve high acceleration - In built Y axis for better homogeneity of material - High resolution Reader Head for better accuracy Measuring range X axis - 500-800 mm Y axis - 600-1500 mm Z axis - 400-600 mm Mode of operation - CNC Max. Workpiece weight (kg) - 250 *Accuracy MPEE (as per ISO 10360 – 2 with TP200 in µm) - 1.5 + L / 350 (Note – We also offer varaint of higher accuracy based on application) Resolution (in µm) - 0.1 / 0.5 Guidance - Air bearings on all axes Linear Velocity - 400 mm/s Volumetric Velocity - 700 mm/s Measuring table (Material) - Granite Probing option - TP 20, TP200, SP 25M, SP 80, Laser Scanner, PH 20, PH 20MT, Revo

VIDEO

*Prices are pre-tax. They exclude delivery charges and customs duties and do not include additional charges for installation or activation options. Prices are indicative only and may vary by country, with changes to the cost of raw materials and exchange rates.