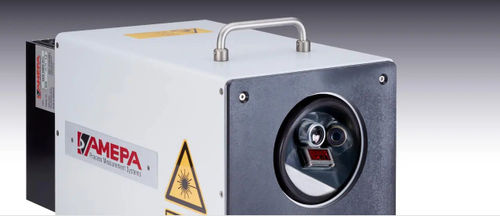
AMEPA online measurements of the surface area profile provide fundamental advantages for the customer:
Visualize and document the waviness and roughness distribution over the entire length of the coil or strip
Efficiently detect waviness values and roughness values outside the tolerance, which can be caused by
Incoming roughness of the raw material
Wear of work rollers
Incorrect process parameters
Provide online data to determine the optimum time for changing the work rolls
Provide the Wsa roughness value and the Ra roughness value as an input for process control
Reduce the number of offline measurements with stylus instruments
The Benefits
Precise
Measuring range for Wsa from 0.1 to 1 µm, measuring range for Ra from 0.3 to 3 µm,
RPc 30 to 120 cm-1
Triggering for Wsa 0.001 µm, triggering for Ra 0.01 µm
Measurement frequency for Wsa measuring up to maximum 1 Hz
Ra measurements with selectable cut off of 0.8 or 2.5 mm
WMS measuring parallel to rolling direction
View field of 1.2 х 0.4 mm, measuring line of 1200 х 3.5 µm (spatial resolution like a stylus tip)
Efficient
Reduction of time-consuming stylus measurements on the line and in the laboratory
Wsa measurements possible up to a strip speed of
180 m/minute
Punctual detection of waviness values, which are outside the specified tolerances, for optimal process control, short response times, increased dynamics
Versatile
Measuring independently of light conditions
Contactless measurement on all quality surface areas, aluminium (mill finish and EDT) or steel (Z, ZE, ZF) each in EDT, EBT or Pretex texturing


