- Metrology - Laboratory
- Laboratory Equipment
- Digital microscope
- Chotest Technology Inc.
- Company
- Products
- Catalogs
- News & Trends
- Exhibitions
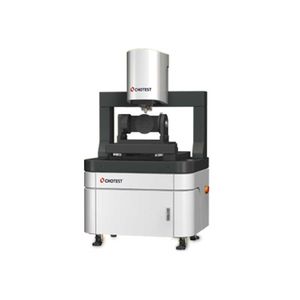
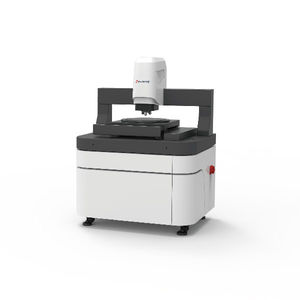
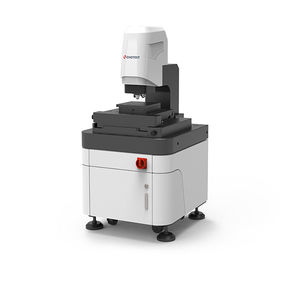
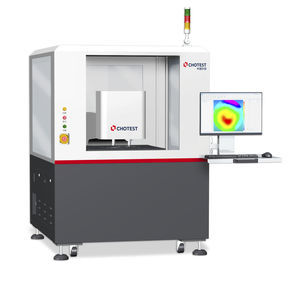
Digital microscope VT 6100metrologyconfocalbenchtop


Add to favorites
Compare this product
Characteristics
- Type
- digital
- Technical applications
- metrology
- Observation technique
- confocal
- Configuration
- benchtop
- Light source
- LED illumination
- Other characteristics
- computerized
- Magnification
Max.: 100 unit
10 unit
Min.: 10 unit
- Resolution
1 nm
- Weight
50 kg
(110.2 lb)- Length
52 cm
(20.5 in)- Width
38 cm
(15 in)- Height
60 cm
(23.6 in)
Description
1. High precision and high repeatability
1) Based on the rotating confocal optical system, combined with high stability structural design and excellent 3D reconstruction algorithm, the measurement system is jointly composed to ensure thehigh measurement accuracy of the instrument.
2) The unique shock isolation design can reduce the vibration noise of the bottom surface, the instrument is stable and reliable in most environments, and has good measurement repeatability
2. All-in-one operation of measurement analysis software
1) The measurement and analysis are operated on the same interface without switching, and the measurement data is automatically counted, realizing the function of rapid batch measurement
2) The visualization window is convenient for users to observe the scanning process in real time
3) Combined with the automatic measurement function of the custom analysis template, the multi-region measurement and analysis can be automatically completed
4) Five functional modules of geometric analysis, roughness analysis, structural analysis, frequency analysis and functional analysis.
5) One-key analysis, multi-file analysis, free combination analysis items are saved as analysis templates, one-key analysis of batch samples, and data analysis and statistical chart functions are provided
6) More than 300 kinds of 2D and 3D parameters can be measured according to ISO/ASME/EUR/GBT
3. Precision joystick
The joystick integrated with the displacement adjustment functions in the three directions of X, Y, and Z can quickly complete the pre-measurement works such as stage translation and 2-way focusing etc.
4. Double anti-collision protection measures
VIDEO
Catalogs
*Prices are pre-tax. They exclude delivery charges and customs duties and do not include additional charges for installation or activation options. Prices are indicative only and may vary by country, with changes to the cost of raw materials and exchange rates.


