- Metrology - Laboratory
- Analytical Instrumentation
- Stainless steel probe
- CNC-STEP GmbH & Co. KG
- Company
- Products
- Catalogs
- News & Trends
- Exhibitions
Stainless steel probe 3D-FINDER

Add to favorites
Compare this product
Characteristics
- Other characteristics
- stainless steel
Description
Design of the 3D-finder
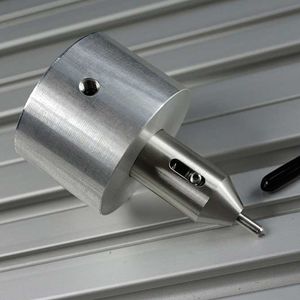
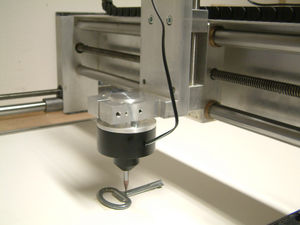
The housing of the 3D measuring probe is made of stainless steel and shows a lasered logo of the manufacturer. A plastic ring is embedded in the housing of the 3D-finder, which is equipped with RGB light. When you put the probe into operation, a green light appears, and as soon as the probe touches the workpiece it triggers the switching signal, and the light turns off.
Measurement and zero-point determination / Hole centre
This measuring probe impresses with its extraordinary repeatability and high measuring precision. Besides geometries such as bores, corners and edges, the 3D-finder touches as well as angles, grooves and ridges on workpieces,without difficulty. This is due to the ready-to-use configured macros of the KinetiC-NC software.
Rework holes or add chamfers
Therefore this is particularly beneficial, for example, if you want to drill additional holes into an already machined workpiece. These you can then place at an exact distance from the edge. In addition, as user, you can determine the zero point precisely with this probe. Moreover, you can also enlarge holes or mill additional chamfers if necessary.
The high precision of this touch probe
Specifically the 3D-finder can be optimally adjusted and calibrated for your own CNC machine. This ensures high precision and repeatability during machining. For example, the combination of probe and machine achieves an accuracy in the range of 0.02 mm. However, this also depends on the machine which is used.
VIDEO
Catalogs
No catalogs are available for this product.
See all of CNC-STEP GmbH & Co. KG‘s catalogsRelated Searches
*Prices are pre-tax. They exclude delivery charges and customs duties and do not include additional charges for installation or activation options. Prices are indicative only and may vary by country, with changes to the cost of raw materials and exchange rates.


