- Metrology - Laboratory
- Metrology and Test Equipment
- 2D scanner
- Evident - Olympus Scientific Solutions
- Company
- Products
- Catalogs
- News & Trends
- Exhibitions
XY scanner COBRAfor welding inspectionfor soldering inspectionfor NDT


Add to favorites
Compare this product
Characteristics
- Number of axes
- XY
- Applications
- for welding inspection, for soldering inspection, for NDT
- Technology
- ultrasonic
- Configuration
- portable
- Application domain
- for pipes
Description
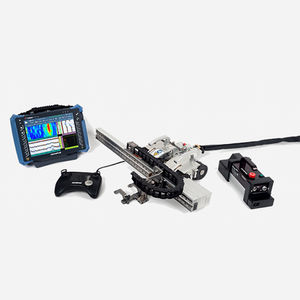
The COBRA® manual scanner, combined with the OmniScan® PA flaw detector, is used to perform circumferential weld inspections on small-diameter pipes. The COBRA scanner holds up to two PA probes for inspections on pipes with outside diameters ranging from 0.84 in. to 4.5 in.
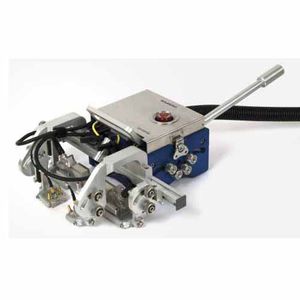
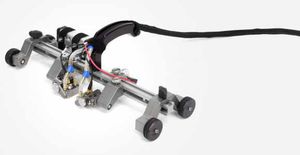
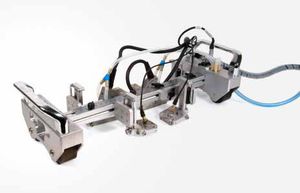
With its slim design, this manual scanner inspects pipes in limited access areas where minimal clearance is required. Adjacent obstructions, such as piping, supports, and structures, can be as close as 12 mm (0.5 in.). This spring-loaded scanner is designed to clasp carbon steel and stainless steel pipes of various diameters using multiple links. This unique feature enables the scanner to be installed and operated from one side of a row of pipes.The COBRA scanner is characterized by its smooth-rolling encoded movement, which enables precise data acquisition. The scanner holds up to two phased array probes for complete inspection of the weld in one pass. For pipe-to-component inspections, the scanner can be configured quickly to perform one-sided inspections using a single probe.
This Olympus solution uses low-profile phased array probes with optimized elevation focusing, which enhances detection of small defects in thin-wall pipes. Specially designed low-profile wedges fitting each pipe diameter covered by the scanner are also available for a complete solution. The COBRA scanner ensures stable, constant, and strong pressure, thus providing good UT signals and precise encoding around the full circumference of the pipe.
Catalogs
Other Evident - Olympus Scientific Solutions products
Weld Inspection Scanners
Related Searches
- Portable testing system
- Digital testing system
- Thickness measuring machine
- Coating thickness gauge
- Digital display thickness gauge
- Evident Olympus inspection scanner
- High-resolution scanning system
- Evident Olympus 2D scanner
- Compact scanning system
- Evident Olympus flaw detector
- Ultrasonic thickness measuring machine
- Handheld thickness gauge
- Portable scanning system
- Handheld tester
- Evident Olympus mobile flaw detector
- Stationary thickness measuring machine
- Metal thickness gauge
- Automatic calibration thickness gauge
- Evident Olympus portable flaw detector
- Magnetic thickness gauge
*Prices are pre-tax. They exclude delivery charges and customs duties and do not include additional charges for installation or activation options. Prices are indicative only and may vary by country, with changes to the cost of raw materials and exchange rates.


