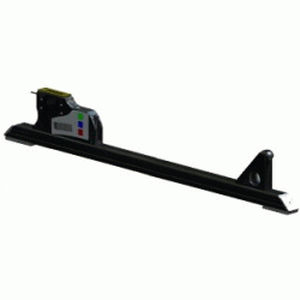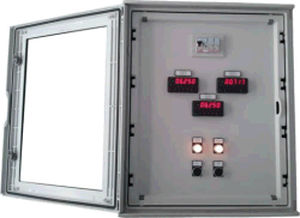
Geometric measuring system GEOPARopticallaserautomatic
Add to favorites
Compare this product
Characteristics
- Measured physical value
- geometric
- Technology
- optical, laser
- Operating mode
- automatic
Description
The system is designed for making automatic measurement of 27 geometric parameters of wheel pairs of wagons in the course of incoming and outgoing inspections carried out in railcar/wheel shops, wagon depots and wheelpair repair and gathering workshops.
Methods of control
Measurement of all parameters is performed by means of noncontact techniques during one revolution of a wheel pair fixed to rotate on centres. Rolling surface contour and wheel dimensions are measured by using LDE2D laser scanners. Precision measurements of axle journal diameters are made by means of LCE optical micrometers. Other parameters are measured with LDE-HS triangulation laser sensors.
Parameters under control
Wheel parameters: out-of-roundness, deviation of roll surface countour from desired profile, wheel flange parameters, wheel tread width and thickness, defects on rolling surface, and wheel separation distance.
Axle journal parameters: average diameters underneath the first and second bearings, out-of-roundness and taper.
Axle parameters: diameters and ovality of pre-wheel-seat parts, diameters of wheal seats and middle parts of axle
Catalogs
No catalogs are available for this product.
See all of FAE Srl‘s catalogsRelated Searches
- Measuring device
- Measuring machine
- Digital measuring device
- Micrometer
- Optical measuring machine
- Automatic measuring machine
- Laser scanning system
- 3D scanning system
- Laser measurement system
- Geometry measuring device
- Surface measuring machine
- 2D scanning system
- Industrial profiler
- Multifunction measuring device
- Optical scanning system
- Panel-mount measuring device
- Diameter gauge
- Geometric measuring machine
- Thickness measuring device
- Non-contact profiler
*Prices are pre-tax. They exclude delivery charges and customs duties and do not include additional charges for installation or activation options. Prices are indicative only and may vary by country, with changes to the cost of raw materials and exchange rates.


