- Company
- Products
- Catalogs
- News & Trends
- Exhibitions
Ultrasonic inspection system DELAMINATIONCONTROL Fautomaticfor delamination detectionthickness

Add to favorites
Compare this product
Characteristics
- Technology
- ultrasonic
- Operational mode
- automatic
- Type
- for delamination detection, thickness
- Product applications
- for composite panels
- Configuration
- in-line
Description
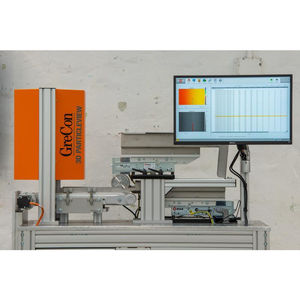
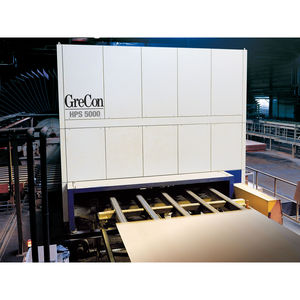
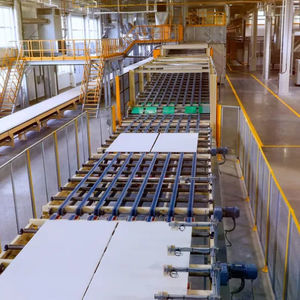
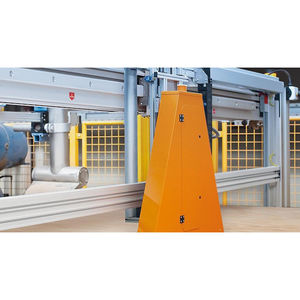
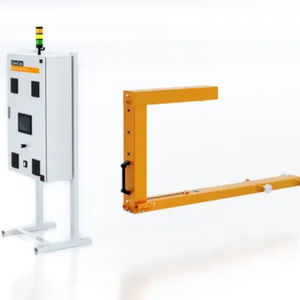
The ultrasonic measuring system GreCon DELAMINATIONCONTROL F detects inhomogeneities in panel-shaped materials, such as wood based panels, inline. Size and location of defective areas are recorded and visualised. Thus, defective panels can be identified and sorted out in time.
The measuring method supplies reliable results for both thick panels of up to 55 mm thickness and light panels of a density of < 550 kg/m³.
Depending on the required quality, different defect types that allow a graded quality sorting can be configured.
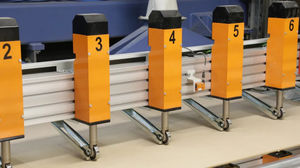
The two-row offset arrangement of the ultrasonic transmitters and receivers enables almost full-surface quality inspection of the products to be measured. This means that even small defects are reliably detected. The larger database also allows a much more coordinated intervention and optimisation of the upstream production process.
Advantages at a glance
Early detection and localisation of hidden defects
Almost 100% measurement of the entire panel width and length including the panel edges
Prevention of blows by early recognition in the DC trend
Realisation of reserve capacities thanks to process trending
Higher output by increase in production speed
High availability and operational reliability of the system
High reliability of measured values because disturbing environmental influences are eliminated by automatic adjustment and an integrated dust accumulation control of the inspection channels
Measuring Method
Ceramic transmitters are installed below the material flow. The ultrasonic signal generated by the transmitters penetrates the material and is received and evaluated by the receivers that are installed above the material flow.
VIDEO
Catalogs
No catalogs are available for this product.
See all of Fagus-GreCon‘s catalogsRelated Searches
- GreCon inspection system
- Automated inspection system
- Camera inspection system
- Quality inspection system
- Measurement inspection system
- Surface inspection system
- Defect detection inspection system
- Optical inspection system
- In-line inspection system
- Production inspection system
- Ultrasonic inspection system
- Digital inspection system
- High-resolution inspection system
- Scanning inspection system
- Thickness inspection system
- Contamination inspection system
*Prices are pre-tax. They exclude delivery charges and customs duties and do not include additional charges for installation or activation options. Prices are indicative only and may vary by country, with changes to the cost of raw materials and exchange rates.


