- Company
- Products
- Catalogs
- News & Trends
- Exhibitions
Scanning inspection system BELTVIEWdigitalnon-contactautomatic

Add to favorites
Compare this product
Characteristics
- Technology
- digital, scanning, non-contact
- Operational mode
- automatic
- Type
- measurement, surface
- Applications
- for production
- Other characteristics
- high-resolution
Description
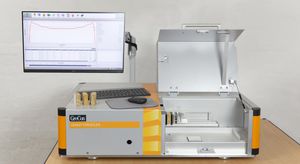
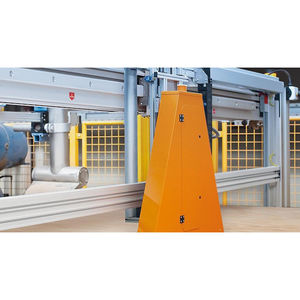
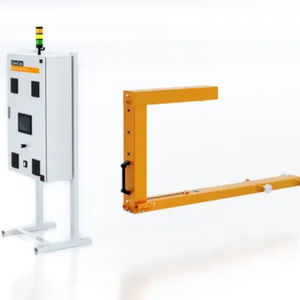
The GreCon BELTVIEW surface inspection system checks the topography of the conveyor belt surface by continuous belt scanning. The measurement can be carried out at full belt speed either mobile or stationary. BELTVIEW provides an assessment of the condition of the surface layer based on variable defect thresholds and surface layer damage.
Benefits at a glance
Non-contact measurement
Periodic scanning of the belt surface
Continuous measurement at full belt speed
Creation of a digital belt surface map
Surface damage detection
Customer report with all relevant damage information
Preliminary analysis for belt inspections and repairs
Detection of systematic surface damage
Measurement method
The BELTVIEW surface inspection system is used in belt conveyor applications. The system uses line lasers to measure the entire belt surface. The detected surface condition is analysed online via intelligent image processing, so that if surface damage such as impact defects occurs, these can be signalled at any time. The inspection of the conveyor belt surface is carried out automatically. The compact design allows inspection even on conveyors that are difficult to access. The information about the condition of the conveyor belt can be used for various purposes, e.g. to estimate the remaining service life or as a preliminary analysis for manual belt inspections and repairs.
Technical data
Supply
Supply voltage: 110 / 230 V ± 10 %
Frequency: 50 Hz / 60 Hz
Mains type: phase/neutral conductor/protective conductor
Power consumption: 450 VA
Installation location
Installation location: at the rear pulley of the conveyor belts (other places of installation on request)
Catalogs
No catalogs are available for this product.
See all of Fagus-GreCon‘s catalogsRelated Searches
- GreCon inspection system
- Automated inspection system
- Camera inspection system
- Quality inspection system
- Measurement inspection system
- Surface inspection system
- Defect detection inspection system
- Optical inspection system
- In-line inspection system
- Production inspection system
- Ultrasonic inspection system
- Digital inspection system
- High-resolution inspection system
- Scanning inspection system
- Thickness inspection system
- Contamination inspection system
- Composite panel inspection system
*Prices are pre-tax. They exclude delivery charges and customs duties and do not include additional charges for installation or activation options. Prices are indicative only and may vary by country, with changes to the cost of raw materials and exchange rates.


