- Metrology - Laboratory
- Inspection and Monitoring
- Surface inspection system
- Foerster Instruments
Surface inspection system DEFECTOVISION IR


Add to favorites
Compare this product
Characteristics
- Type
- surface
Description
Robust design – fast testing – accurate results
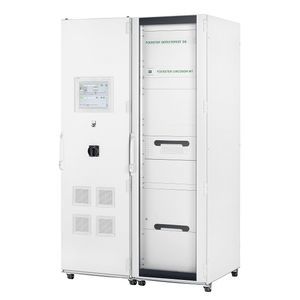
The development of the DEFECTOVISION IR primarily focused on user comfort and easy servicing. The mechanical system construction was designed to make the few servicing parts easily accessible, thus reducing downtimes to a minimum.
Combined with the latest processor technology, state-of-the-art thermal imaging technology ensures that the test results are ready within seconds. Transport speeds of up to 1.5 m/s can be achieved even for test pieces with diameters of 300 mm.
Unlike with conventional test methods, there is no need for high-precision material guides. Eccentricities and uneven material surfaces can be handled by the camera test system and do not influence the test results.
DEFECTOVISION IR tests the entire surface of the material. It reproducibly detects defects from a depth of 0.3 mm and a length of 10 mm.
Your advantages at a glance
•Contactless and non-wearing technology
•Compact design for integration in existing production lines
•High throughput
•Test fully covers the entire material surface
•Detection of even the smallest material defects
VIDEO
Catalogs
No catalogs are available for this product.
See all of Foerster Instruments‘s catalogs*Prices are pre-tax. They exclude delivery charges and customs duties and do not include additional charges for installation or activation options. Prices are indicative only and may vary by country, with changes to the cost of raw materials and exchange rates.


