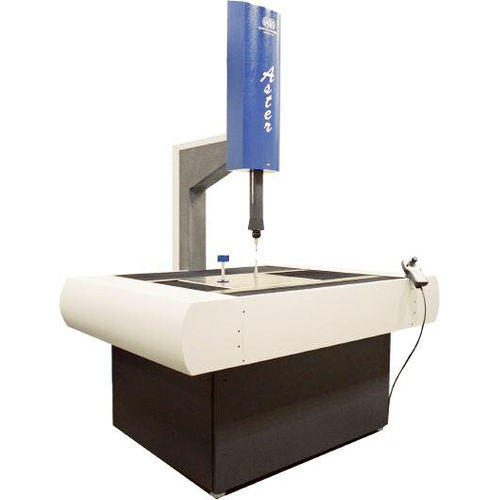
Manual coordinate measuring machine Aster 3Dgooseneckworkshopfor small parts
Add to favorites
Compare this product
Characteristics
- Control
- manual
- Structure
- gooseneck
- Applications
- workshop, for small parts, for gears, for the aeronautical industry
- Probe type
- multi-sensor, camera-based, contact
- Other characteristics
- high-precision, compact, automated, on air bearings
- X travel
400 mm, 500 mm, 650 mm
(15.75 in, 19.69 in, 25.59 in)- Y travel
350 mm, 400 mm, 550 mm
(13.78 in, 15.75 in, 21.65 in)- Z travel
300 mm, 500 mm
(11.81 in, 19.69 in)
Description
Three-dimensional high-precision measuring machine for manual and automated checking of small to medium-sized parts.
Three-dimensional high-precision measuring machine for manual and automated checking of small to medium-sized parts.
The best materials and structures have been employed to guarantee high precision, operating speed, stability and reliability, with a wide range of measuring software satisfying the most diverse, complex requirements.
Aster View is best employed in checking small parts unsuited for contact probe verification. Some examples are two or three- dimensional mechanical parts with reduced access, flexible or soft plastic components, electronic cards, etc.
“Gooseneck” and “mobile table” structure
This unique structure allows for the measuring probe-support (on axis Z) to be completely independent of the movement along the other two axes, allowing for better precision and reliability and for measurement of parts with larger sizes than the slides would allow for.
Workbench, slides on X Y Z axes, diabase (black granite) plate
“Z” axis support shaft in one-block diabase (black granite)
High precision air slides for movement along all axes
Catalogs
Aster 3D
2 Pages
Related Searches
- Measuring machine
- Optical measuring machine
- Automatic measuring machine
- High-precision measuring machine
- Measuring system for industrial applications
- Parts measuring machine
- Control measuring machine
- Non-contact measuring machine
- CMM
- Laboratory measuring machine
- 3D measuring machine
- Compact measuring machine
- Multi-sensor coordinate measuring machine
- Bridge coordinate measuring machine
- High-speed measuring machine
- Contour measuring machine
- Shape measuring machine
- High-precision coordinate measuring machine
- Production line measuring machine
- Optical coordinate measuring machine
*Prices are pre-tax. They exclude delivery charges and customs duties and do not include additional charges for installation or activation options. Prices are indicative only and may vary by country, with changes to the cost of raw materials and exchange rates.


