- Metrology - Laboratory
- Metrology and Test Equipment
- Vickers hardness tester
- Hegewald & Peschke Meß- und Prüftechnik GmbH

- Products
- Catalogs
- News & Trends
- Exhibitions
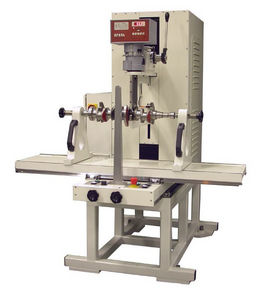
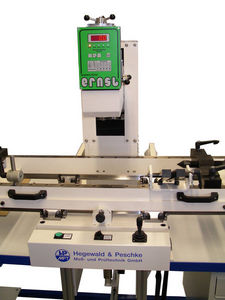
Vickers hardness tester 500 Nfloor-mountedmotorized
Add to favorites
Compare this product
Characteristics
- Type
- Vickers
- Mounting
- floor-mounted
- Other characteristics
- motorized
Description
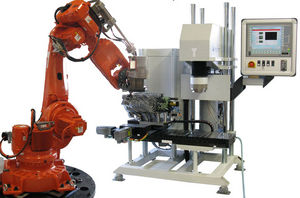
The hardness testing systems are automated and/or integrated into the production process, with and without component feed.
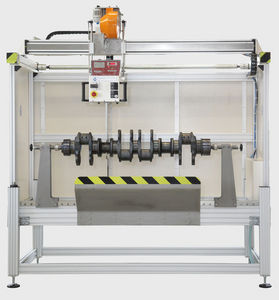
Hardness tests on components with complicated geometries or tests in the running production can sometimes not be covered with standard hardness testers. In these cases the company Hegewald & Peschke GmbH offers you the complete engineering know-how for the realization of the testing task. Our already produced hardness testing systems include: Hardness testing stations for crankshafts, automatic rim hardness testing systems, hot hardness testing systems, circular blank testing systems and portal hardness testing systems.
Automatic hardness tester – 500N
500N automatic hardness tester for circular blanks
Description
The test execution and evaluation is carried out in accordance with DIN EN ISO 6507 (Vickers) in the load range from 50 N to 300 N. The system has been designed to make an upgrade with the registering hardness testing (Martens) possible.
At the request of the hardness tester, the test objects are fed to the measuring position and clamped. For optical measurement, the circular blanks are fed to the automatic optical measurement location after setting the indentation (optional after the HM test). With the "CoinFlip" evaluation software, the depth of an indentation can be calculated in Vickers and converted into Martens. In the additional optical evaluation, the hardness indentation is measured and the hardness value determined in Vickers or Brinell depending on the respective test procedure.
Other Hegewald & Peschke Meß- und Prüftechnik GmbH products
Hardness Testers
Related Searches
- Test machine
- Measuring device
- Test cabinet
- Measuring machine
- Test stand
- Indentation hardness tester
- Material testing machine
- Automatic test machine
- PC-controllable testing machine
- Temperature test cabinet
- Compression test machine
- Benchtop indentation hardness tester
- Digital hardness tester
- Vertical test machine
- Automatic test stand
- Industrial test machine
- Universal test machine
- Digital measuring device
- Tensile test machine
- Flexure testing machine
*Prices are pre-tax. They exclude delivery charges and customs duties and do not include additional charges for installation or activation options. Prices are indicative only and may vary by country, with changes to the cost of raw materials and exchange rates.


