- Company
- Products
- Catalogs
- News & Trends
- Exhibitions
Bridge coordinate measuring machine Spark Gage Plusfor crankshaftsmulti-sensor
Add to favorites
Compare this product
Characteristics
- Structure
- bridge
- Applications
- for crankshafts
- Probe type
- multi-sensor
Description
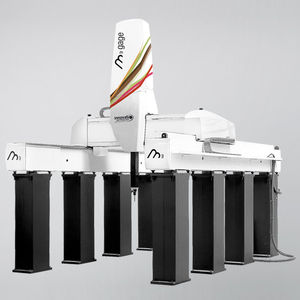
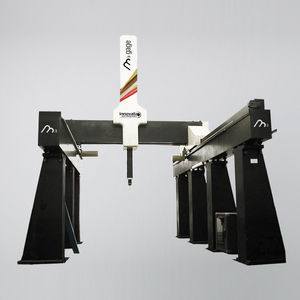
On the new Spark Gage Plus model, residual rotation defects are much lower than on conventional measuring machines with lateral guides. To obtain perfect measurement symmetry, the non deformable granite frame of the gantry moves on the main marble which provides the geometrical reference for the X and Y axes and below the work surface, which is also granite.
The work surface supports are placed at the corresponding edges of the machine on the floor, so that it is not possible for heavy workpieces to deform the main marble. At the top, the two granite crossbeams that provide the geometrical references for the Y-axis are perfectly embedded in the two vertical granite columns of the gantry, ensuring that there will be no deformation of the closed frame. Reader tapes stuck to the granite.
Related Searches
- Laser scanning system
- Measurement scanning system
- 3D scanning system
- Innovalia-Metrology coordinate measuring machine
- High-resolution scanning system
- High-speed scanning system
- High-precision scanning system
- Innovalia-Metrology multi-sensor coordinate measuring machine
- Portable scanning system
- Bridge coordinate measuring machine
- High-precision coordinate measuring machine
- Optical coordinate measuring machine
- Fully integrated scanner
- 3D measuring arm
- Color scanner
- Large part coordinate measuring machine
- Gantry coordinate measuring machine
- Compact coordinate measuring machine
- Automated coordinate measuring machine
- Coordinate measuring machine with horizontal arm
*Prices are pre-tax. They exclude delivery charges and customs duties and do not include additional charges for installation or activation options. Prices are indicative only and may vary by country, with changes to the cost of raw materials and exchange rates.


