- Metrology - Laboratory
- Metrology and Test Equipment
- Coating thickness gauge
- Jinan Hensgrand Instrument Co.,Ltd
- Company
- Products
- Catalogs
- News & Trends
- Exhibitions
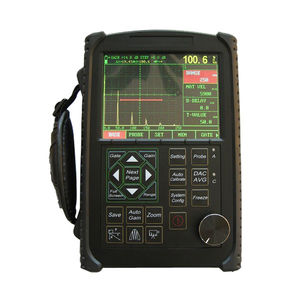
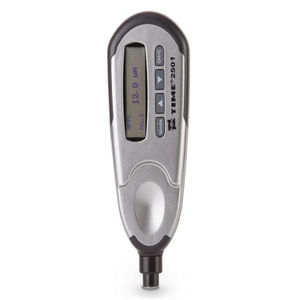
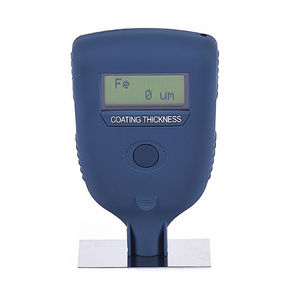
Portable thickness gauge HST200coatingdigital displayportable
Add to favorites
Compare this product
Characteristics
- Type
- portable
- Applications
- coating
- Technology
- digital display
- Other characteristics
- portable
Description
1.Measurement Range: 0—1250um or 0—50mil
2. Accuracy:± [(1%~3%)H+1um] Note:H is thickness reading
3. powers down after 60 seconds of no activity.
530 can measure the thickness of non-magnetic coating layers covered on magnetic substrate. Such as: non-magnetic (aluminum, chrome, copper, enamel, rubber, paint) covered on magnetic substrate (steel, iron, alloy and magnetic stainless steel)
1、Power-on
Keystroke once;Wait until READY! is displayed on the LCD. Now the gauge is ready for measurements.
2、Zeroing
Keystroke twice; when BASE ZERO is displayed, place flat on surface; hold steady. After measurement is obtained, DONE is shown and gauge beeps. Then lift gauge.
Note: Please conduct zeroing process after changing base. Zeroing process could be repeated for better results.
3、Two-Point User Calibration
Keystroke three times, enter into the process of tow-point user calibration; when
USER CAL BASE is shown on the LCD, please conduct a measurement on the base first; when
S1 is shown on the LCD, place Shim S1 on the base, conduct a measurement on shim S1 and lift gauge; when
S2 is shown on the LCD, place Shim S2 on the base, conduct a measurement on shim S2 and lift gauge; When DONE is displayed, it is ready for use.
Note: The two-point user calibration process could be repeated for better results.
4、Unit Change
Keystroke four times, convert from ums to mils or vice versa.
5、Reset
Keystroke five times, gauge resets.
Catalogs
Other Jinan Hensgrand Instrument Co.,Ltd products
NDT Series
Related Searches
- Hensgrand Instrument testing machine
- Measuring device
- Test cabinet
- Test stand
- Hensgrand Instrument hardness tester
- Hensgrand Instrument material testing machine
- Hensgrand Instrument automatic testing machine
- Hensgrand Instrument computer-controlled testing machine
- Temperature test cabinet
- Hensgrand Instrument compression testing machine
- Hensgrand Instrument benchtop hardness tester
- Climatic test chamber
- Hensgrand Instrument digital display hardness tester
- Hensgrand Instrument vertical testing machine
- Hensgrand Instrument industrial testing machine
- Hensgrand Instrument universal testing machine
- Digital measuring device
- Hensgrand Instrument tensile testing machine
- Hensgrand Instrument bending testing machine
- Hensgrand Instrument thickness gauge
*Prices are pre-tax. They exclude delivery charges and customs duties and do not include additional charges for installation or activation options. Prices are indicative only and may vary by country, with changes to the cost of raw materials and exchange rates.


