- Metrology - Laboratory
- Metrology and Test Equipment
- Straightness measuring instrument
- Johann Fischer Aschaffenburg

- Products
- Catalogs
- News & Trends
- Exhibitions
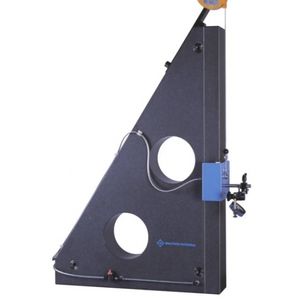
Straightness measuring device high-precision
Add to favorites
Compare this product
Characteristics
- Measured value
- straightness
- Other characteristics
- high-precision
Description
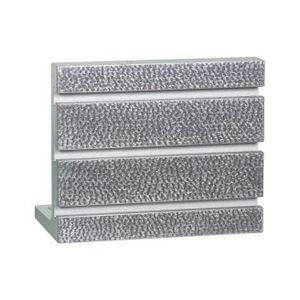
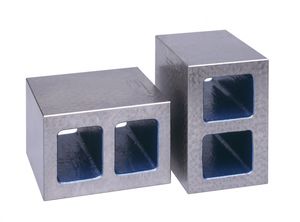
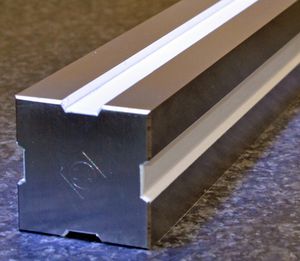
Measuring beam - weight-reduced construction
Solid hardstone material with weight-reducing recesses.
Thereby optimal longterm-stability.
40% less weight.
Measuring tasks
Simple and precise check of deviations of straightness and parallellism at e.g. movement axes of co-ordinate measuring machines and machine tools.
Construction
Selected solid natural hardstone - Diabas - free of faults.
Handles mounted at the front faces.
Working
>2-sides precise. Both narrow longitudinal faces are flat and parallel to each other ground and manually lapped. Remaining faces are finely worked.
Accuracy
>JFA precision grade I++
>JFA precision grade I++
>JFA precision grade LAB
Precision values -> see table below
Calibration certificate
A test certificate is part of scope of delivery. The measuring results are retraceable to National standards. On request and additional costs: Fabrication or DAkkS-Calibration certificate.
Accessories
Case for storage and transport made of wood in a very stabile design. No. 55182.
Other Johann Fischer Aschaffenburg products
Measuring Tools
Related Searches
- Measuring device
- Measuring machine
- Automatic measuring machine
- Manual test kit
- High-precision measuring machine
- Industrial test equipment
- Automatic measuring device
- Benchtop measuring device
- Distance measuring machine
- Control measuring machine
- Laboratory measuring device
- High-precision measuring device
- Geometry measuring device
- Tabletop testing device
- Electronic measuring device
- Concentricity measuring instrument
- Length measuring device
- Precision test equipment
- Calibration measuring device
- Manual measuring device
*Prices are pre-tax. They exclude delivery charges and customs duties and do not include additional charges for installation or activation options. Prices are indicative only and may vary by country, with changes to the cost of raw materials and exchange rates.

