- Products
- Measuring and control station
- Johann Fischer Aschaffenburg

- Products
- Catalogs
- News & Trends
- Exhibitions
Measuring and control station
Add to favorites
Compare this product
Description
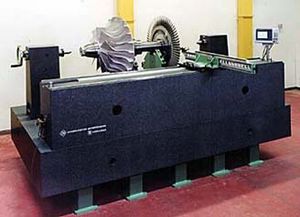
Compact and space-saving measuring station for the micron-precise fixation and calibration of non-identical gauges
Construction / Functionality
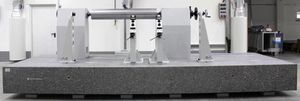
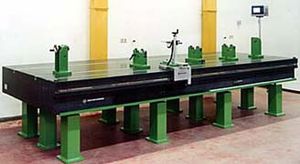
The base plate is made of natural hardstone and has a finely grounded and lapped top surface. Five T-guiding- and -clamping slots are brought into the top surface while the four slots in cross direction traverse the single slot in longitudinal direction.
The T-guiding- and -clamping slots are used for guiding one reference standard and four setting standards, which are thus level and perpendicular to each other. The five standards are also made of natural hardstone and are equipped with an air-beared transportation and carrying system, which is brought into their stand spaces. This enables an easy and low-wear manual relocating and positioning.
Bushings and jig holders are mounted and adjusted at the precision surfaces of the reference standard and the setting standards in a defined manner. These are made of steel, annealed with low stress and coated to be protected against corrosion.
A welded-steel frame ensures a statically correct and strainless bearing of the measuring station. Alignment of the top surface by using a spirit level.
Technical data
>Base plate dimensions: 2.000 x 1.5000 x 300 mm
>Base plate weight: ca. 2.600 kg
>Flatness - Base plate top surface: Flatness, parallelism and perpendicularity of the T-guiding and -clamping slots (nominal size 14 mm H8 - DIN 650) to each other: 0,005 mm / 1.000 mm
>Working height: ca. 900 mm
Other Johann Fischer Aschaffenburg products
Tailor-made Measurement Systems
*Prices are pre-tax. They exclude delivery charges and customs duties and do not include additional charges for installation or activation options. Prices are indicative only and may vary by country, with changes to the cost of raw materials and exchange rates.

