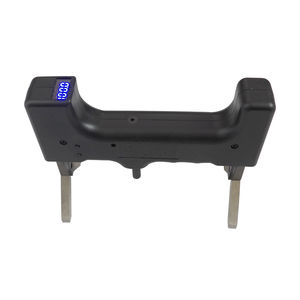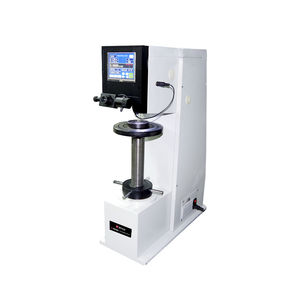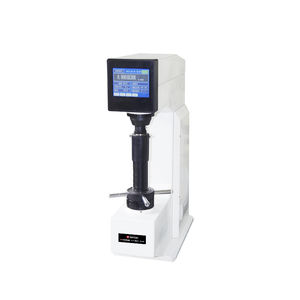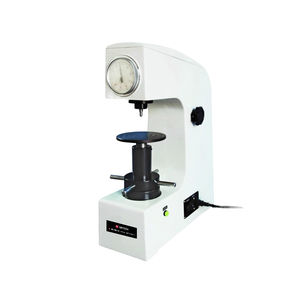
Vickers hardness tester MU220portablemetalfor non-ferrous metals
Add to favorites
Compare this product
Characteristics
- Type
- Vickers
- Mounting
- portable
- Product applications
- metal, for non-ferrous metals, parts, workpiece, for gears, turbine, axle, for pipes, for ferrous metals
- Other characteristics
- LCD digital display, ultrasonic
Description
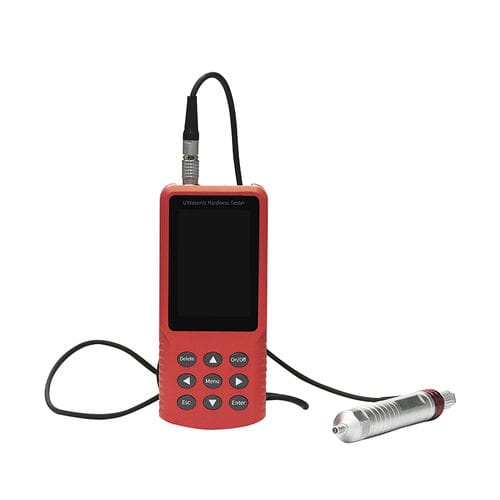
MU220 Ultrasonic hardness tester
Measuring range:
Resolution Accuracy:
Communication storage:
Working time:
Main unit weight:
Dimensions:
Package dimensions:41*33.5*14.5cm
Total weight:4.2kg
Product Overview
MITECH MU220 non-destructive ultrasonic hardness tester, based on the principle of ultrasonic contact impedance method (UCI method), can quickly and without damage to detect the hardness of a variety of metal materials including composite materials and new materials, and has no pressure on the surface of the tested workpiece. It has high measurement accuracy and both single-point and multi-point calibration modes. It adopts 3.5-inch LCD color display, intuitive and comprehensive data display, supports mutual conversion among various hardness systems. It is the ideal instrument for detectingvarieties of materials.
Function & application
Hardness test of flange edge and gear root stamping parts, mold, thin plate, face-hardened gear tooth, gear groove and taper part;
Hardness test of axle and thin-wall pipes and vessels;
Hardness test of wheels and turbine rotors;
Hardness test of bit edge;
Hardness test of welding parts;
Measure the depth of deep hole with certain aperture, concave and convex mark with large radians, and irregular plane;
Hardness test of most ferrous and nonferrous metals and their alloys in industrial production.
Catalogs
Related Searches
- Indentation hardness tester
- Benchtop indentation hardness tester
- Digital hardness tester
- Thickness measuring machine
- Rockwell indentation hardness tester
- Brinell indentation hardness tester
- Vickers indentation hardness tester
- Automatic indentation hardness tester
- Portable indentation hardness tester
- Metal indentation hardness tester
- Steel indentation hardness tester
- Coating thickness gauge
- Digital display thickness gauge
- Hydrometer
- Fault detector
- Ultrasonic thickness measuring machine
- Aluminum indentation hardness tester
- Handheld thickness gauge
- Analog hardness tester
- Shore hardness tester
*Prices are pre-tax. They exclude delivery charges and customs duties and do not include additional charges for installation or activation options. Prices are indicative only and may vary by country, with changes to the cost of raw materials and exchange rates.


