- Metrology - Laboratory
- Metrology and Test Equipment
- Automatic goniometer
- MÖLLER-WEDEL OPTICAL GmbH
- Company
- Products
- Catalogs
- News & Trends
- Exhibitions
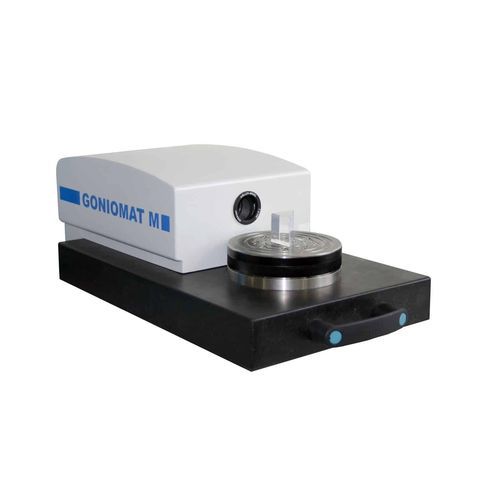
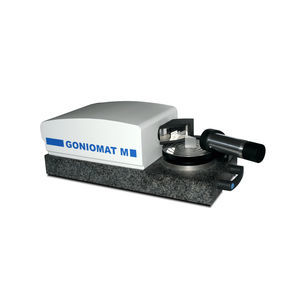
Automatic goniometer GONIOMAT M5 / M5 XL / M10


Add to favorites
Compare this product
Characteristics
- Options
- automatic
Description
The GONIOMAT M series, with its combination of manually rotatable precision rotary table and software-supported evaluation of the angle encoder signals in relation to the autocollimation image, enables easy handling with frequently changing test specimen types and, at the same time, low measurement uncertainty. The goniometers are ideally suited for in-process production monitoring as well as incoming and outgoing inspection.
Measuring Principle
The GONIOMAT M consists of a mechanically mounted rotary table (1), an angle encoder (2), an electronic autocollimator (3) with USB connection and the GONIOMATIK software (4). The calculation of the position of the autocollimation image with the corresponding rotary table position is done by the software. Precise positioning of the test specimen surfaces to the optical axis of the autocollimator is not necessary.
Measuring Procedure
• Operator places the test specimen on
• Align surface 1 to the autocollimator
• Select measurement mode
• Set the measured value of the first surface to zero
• Rotate table and align surface 2 to the autocollimator
• Software displays angle measurement value
Catalogs
No catalogs are available for this product.
See all of MÖLLER-WEDEL OPTICAL GmbH‘s catalogsExhibitions
Meet this supplier at the following exhibition(s):

Related Searches
- Measuring device
- Measuring machine
- Optical measuring machine
- Automatic measuring device
- Control measuring machine
- Distance measuring machine
- Geometry measuring device
- Length measuring machine
- Optical measuring device
- Angle measuring machine
- Laser measuring device
- Goniometer
- Optical lens measuring machine
- Position measuring device
- Stand-alone measurement system
- Distance measuring device
- Automatic goniometer
- Angle measuring device
- Transmission measuring instrument
- Floor-standing measuring device
*Prices are pre-tax. They exclude delivery charges and customs duties and do not include additional charges for installation or activation options. Prices are indicative only and may vary by country, with changes to the cost of raw materials and exchange rates.


