Surface calibration system U.S.A. E74universal
Add to favorites
Compare this product
Characteristics
- Physical quantity
- surface
- Applications
- universal
Description
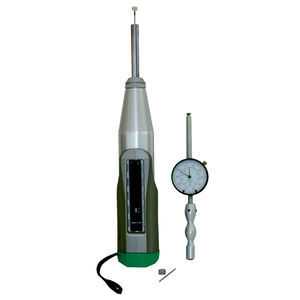
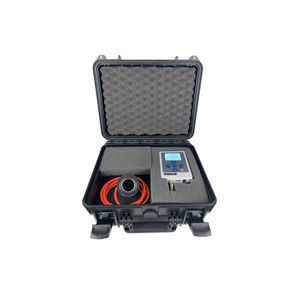
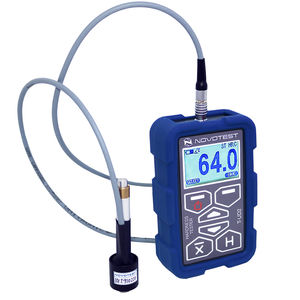
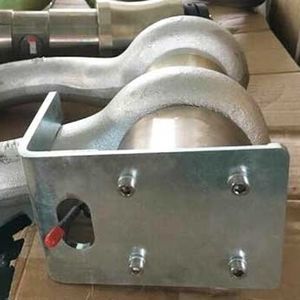
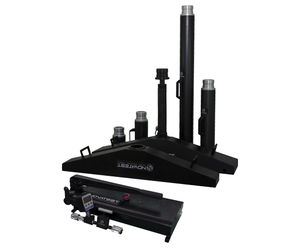
The U.S.A. universal calibration anvil E74 is an indispensable tool for those who perform hammer test surveys: during the execution of these tests it is necessary to check the calibration of the instrument. The U.S.A. anvil E74 is supplied complete with the verification report.
In order to check the calibration of the hammer, the anvil must be placed on a rigid surface and only then will the instrument be inserted into the appropriate guide. The calibration check must be performed before and after a test sequence, recording the measured values (UNI EN 12504-2).
Before starting the readings on the anvil, operate the tool at least three times to make sure it works correctly. Then insert the hammer into the guide and perform 10 strokes. The average of the rebound indices of the hammer test beats performed on the SINT03 anvil must be equal to 74 ± 2.
The relationship between the measurements acquired on the SINT04 reference anvil and the correlation measurements with the U.S.A. E74 is proven.
The results meet specific compliance requirements and the product conforms to declared values.
Other anvils can be used if it can be shown that the accuracy of the readings is not significantly affected (according to UNI EN 12504-2).
All measured values fall within the tolerance specified according to the international standards UNI EN 12504-2 and ASTM C805.
WARNING: the verification on the anvil does not guarantee that different hammers produce the same effects.
Catalogs
No catalogs are available for this product.
See all of Novatest‘s catalogs*Prices are pre-tax. They exclude delivery charges and customs duties and do not include additional charges for installation or activation options. Prices are indicative only and may vary by country, with changes to the cost of raw materials and exchange rates.


