- Metrology - Laboratory
- Inspection and Monitoring
- Infrared camera inspection system
- Optris GmbH & Co. KG
Infrared camera inspection system 640i G7measurementglass surfacefor the glass industry


Add to favorites
Compare this product
Characteristics
- Technology
- infrared camera
- Type
- measurement, glass surface
- Applications
- for the glass industry
- Product applications
- for coating
Description
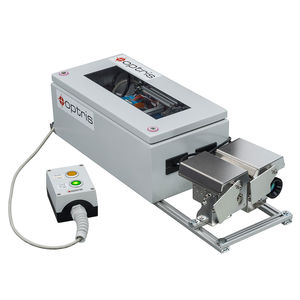
With the new glass inspection system from Optris, there is a new approach to temperature measurement in the production of low-e glass. Low emissivity glass poses a major challenge for infrared devices which are traditionally measuring the glass temperature from above when the panes moved out of the furnace during production.
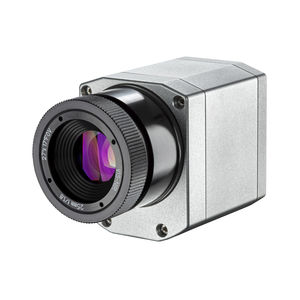
The new Bottom up glass inspection system solves this problem by having two infrared imagers installed underneath the tempering line which measure the temperature on the non-coated high emissivity side of the glass.
The combination of two VGA imagers with a maximum field of view of 111° results in an excellent 1600 pixels scan line resolution on maximum 4,3 m scan width.
An ultra-fast CTlaser 4M pyrometer with 90 µs exposure time combined with the digitally controlled lens protection system (DCLP) is a reliable safeguard for both infrared cameras in case of glass breakage.
Important specifications
• Compact bottom up system for coating independent underneath measurement
• Integrated ultra-fast glass breakage detection combined with Digitally controlled lens protection system (DCLP)
• Pre-assembled system for easy installation on glass tempering furnaces
• Glass area calculation
Scope of Supply: Bottom up Glass Inspection System
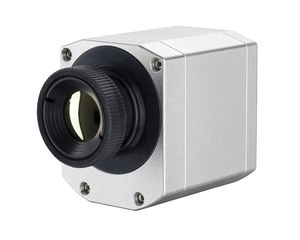
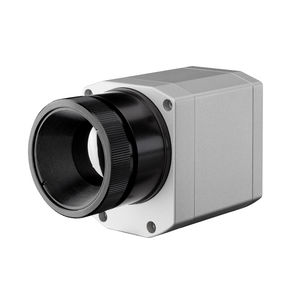
• Either PI 640i G7 imager with 90° or 60° FOV imager or PI 450i G7 imager with 80° or 53° FOV
• 2x Industrial Process Interface
• CTlaser 4ML glass breakage sensor with USB interface
• 2x DCLP Shutter system with mounting brackets for imagers
• 2x USB Server Gigabit
• Control cabinet with cable set (10 m each) and remote control box
• Software package
• 100-230 V AC/ 24 V DC power supply for initial start-up
Catalogs
No catalogs are available for this product.
See all of Optris GmbH & Co. KG‘s catalogsExhibitions
Meet this supplier at the following exhibition(s):


Related Searches
- Optris digital camera
- Visible camera system
- CMOS camera module
- Optris industrial camera
- Optris infrared camera
- Optris monitoring camera
- Optris USB camera
- Waterproof camera system
- Detection imager
- Optris compact camera
- Optris thermal imaging camera
- High-definition camera
- Inspection system
- Gigabit Ethernet camera
- Optris rugged video camera
- Optris temperature-controlled camera
- High-speed camera system
- IR camera system
- High-performance camera module
- Optris PoE camera
*Prices are pre-tax. They exclude delivery charges and customs duties and do not include additional charges for installation or activation options. Prices are indicative only and may vary by country, with changes to the cost of raw materials and exchange rates.


