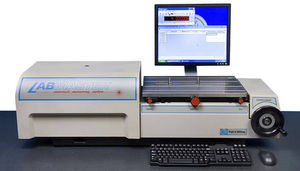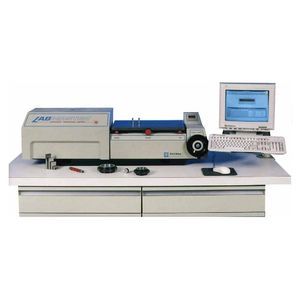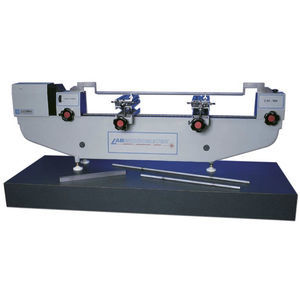
Diameter measuring machine LMU-1000Alaserinterferometricparts
Add to favorites
Compare this product
Characteristics
- Measured physical value
- diameter
- Technology
- laser, interferometric
- Measured material
- parts, bearing
- Applications
- for industrial applications, calibration
Description
The Standard of Accuracy ...and the most popular instrument in industry!
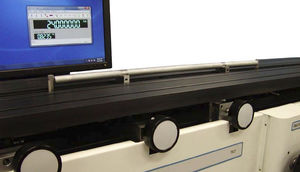
Our most automated ID/OD/SD* gage calibration and part measuring system with a 40 inch (1016 mm) direct reading range and a 120 inch (3048 mm) capacity with optional probes. Features include laser interferometer, computer control, air bearings, bi-directional probes, constant measuring force, and flexible fixturing. These features offer guaranteed repeatability and operator independent reproducibility with unmatched speed.
Swivel, centering, tilt, and elevation adjustments are controlled with a press of a button or click of the mouse, or choose our new optional Table Control Box for traditional knob control. For even more automated control, GageCal scripting allows the user to create a sequence of automated actions for complete automatic measurement of custom parts or gages. Automated positioning, alignment, and measurement practically eliminate operator influence and decrease measurement time. Instrument configurations, including table alignment and position, can be saved and recalled at a later time, minimizing setup time for common artifacts. GageCal also has predefined application screens and enters tolerances for various types of measurements such as blocks, rings, plugs, and threads.
With appropriate accessories, the LABMASTER Universal Model 1000A is capable of measuring rings (threaded & non-threaded), gage blocks, plugs (threaded & non-threaded), dial/test indicators, gage wires, micrometer heads, pin gages, tapered plugs (threaded & non-threaded), end standards, micrometers, and snap gages, all with NIST traceability. Only a handful of traceable masters, such as blocks, rings, etc
Catalogs
No catalogs are available for this product.
See all of Pratt & Whitney‘s catalogsOther Pratt & Whitney products
Universal (ID/OD) Measuring Instruments
Related Searches
- Measuring machine
- Micrometer
- Automatic measuring machine
- High-precision measuring machine
- Measuring system for industrial applications
- Parts measuring machine
- Distance measuring machine
- Digital micrometer
- Diameter measuring machine
- Laser measurement system
- Outside micrometer
- Laboratory measuring machine
- Length measuring machine
- Measuring system for the automotive industry
- Thickness measurement system
- Inside micrometer
- Calibration measuring machine
- Analog micrometer
- High-speed measuring machine
- Roundness measuring machine
*Prices are pre-tax. They exclude delivery charges and customs duties and do not include additional charges for installation or activation options. Prices are indicative only and may vary by country, with changes to the cost of raw materials and exchange rates.


