
- Products
- Catalogs
- News & Trends
- Exhibitions
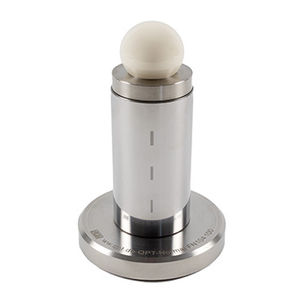
Roughness standard RN 201
Add to favorites
Compare this product
Characteristics
- Type
- roughness
Description
for testing the functionality of your surface-measuring station, incl. quality test certificate.
The measuring results Ra, Rmax and Rz are traceable to the PTB via the calibration chain DAkkS (optional)
Moreover, the measuring results Pt, Rt, Rk and Rp are given. Measured for a measuring range of 4 mm with a cutoff of 0.8 mm for the R-measurement results
The following are checked:
– The installation location (vibrations)
– The dynamics of the measuring sensor
– The sensitivity of the measuring sensor
– Determination of figures for surface measurement and for operations
Related Searches
- Measuring device
- Measuring machine
- Portable measuring device
- Automatic measuring machine
- High-precision measuring machine
- Touch probe head
- Parts measuring machine
- Automatic measuring device
- Compact measuring device
- Measurement touch probe head
- Geometry measuring device
- Contour measuring machine
- Rugged measuring machine
- Standard
- Roughness measuring machine
- Horizontal measuring machine
- Large part measuring machine
- Measuring device with integrated screen
- Shape measuring device
- Position measuring device
*Prices are pre-tax. They exclude delivery charges and customs duties and do not include additional charges for installation or activation options. Prices are indicative only and may vary by country, with changes to the cost of raw materials and exchange rates.


