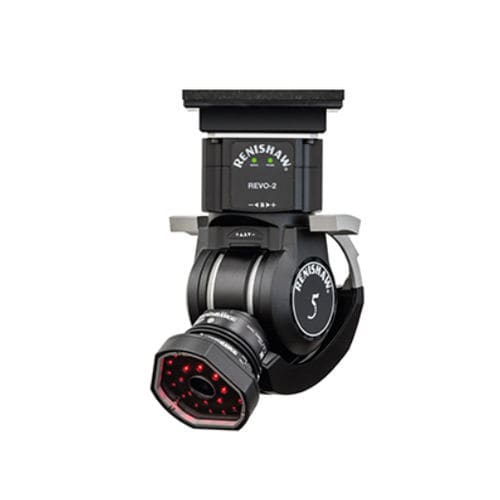
The RVP system comprises a vision probe body, a number of vision modules, rack ports and a calibration artefact. The image capture and processing components of the system are held inside the vision probe body and include an industry-standard, robust CMOS sensor for reliable image capture.
The vision modules allow a range of features with different sizes and shapes to be inspected. All vision modules contain integral LED lighting to achieve a sharp contrast between holes and part material. Background feature enhancement is also available using backlighting combined with bespoke part fixturing.
Benefits
•Added part inspection capability:
Small features and delicate or flexible parts that cannot be measured using tactile probes can now be inspected on a 5-axis non-contact measurement platform.
•Added value multi-sensor system:
A machine equipped with REVO-2 can be used for a large range of inspection applications, including scanning measurement, surface finish analysis and now, non-contact inspection.
•High-speed data collection:
5-axis motion between part features and real-time image processing dramatically increase data collection rates.


