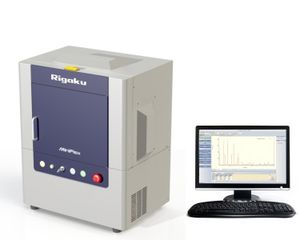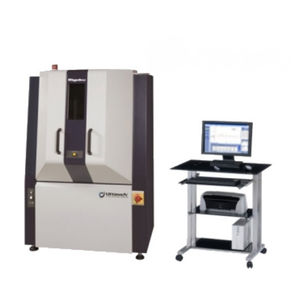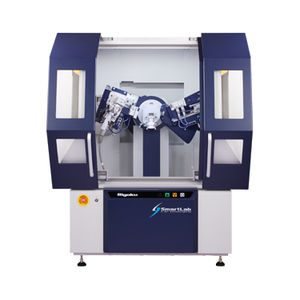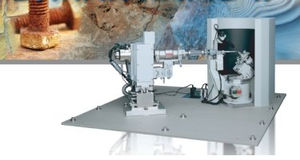
X-ray diffraction measuring instrument AutoMATE II

Add to favorites
Compare this product
Characteristics
- Technology
- X-ray diffraction
Description
Residual stress may be created during the manufacturing process of a material, or it may accumulate in a structure over many years in operation. In either case, this stress can have a serious negative effect on a product's quality, durability and lifetime. Accurate detection of residual stress is an important element of the quality control process and helps predict the service lifetime of products.
In the past, if you wanted to make highly accurate residual stress measurements, you had to use an R&D diffractometer because of the accuracy of the goniometer. However this restricts the weight and size of the samples you can measure. On the other hand, dedicated laboratory and factory-floor residual stress analyzers suffer from reduced accuracy due to the nature of their mechanical designs, while, in their favor, they have the flexibility of measuring large and heavy parts.
With the AutoMATE II, you now have the best of both worlds. Large and heavy parts (30 kg with standard manual Z stage; 20 kg with optional automated XYZ stage) can be measured with high accuracy. The X-ray source and detector arm are mounted on a highly accurate two-axis goniometer that can position them relative to the measurement site and perform scans with minimum steps of 0.1 microns when using the automated XYZ stage. The X-ray source and detector arm are mounted on a highly accurate two-axis goniometer that can position them relative to the measurement site and perform scans with minimum steps of 0.1 microns when using the automated XYZ stage.
VIDEO
Catalogs
No catalogs are available for this product.
See all of Rigaku‘s catalogsRelated Searches
- Measuring device
- Inspection machine
- Laser scanning system
- High-resolution scanning system
- High-speed scanning system
- Compact scanning system
- Process measuring device
- X-ray inspection machine
- X-ray scanning system
- High-resolution inspection machine
- Metrology system
- NDT scanner
- Wafer inspection machine
- Scanner for medical applications
- Wafer metrology system
- X-ray measuring instrument
- Computed radiography scanner
- Imaging plate scanner
*Prices are pre-tax. They exclude delivery charges and customs duties and do not include additional charges for installation or activation options. Prices are indicative only and may vary by country, with changes to the cost of raw materials and exchange rates.


