- Company
- Products
- Catalogs
- News & Trends
- Exhibitions
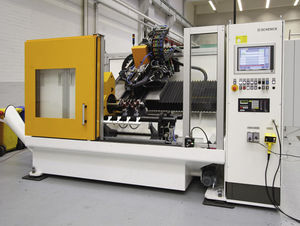
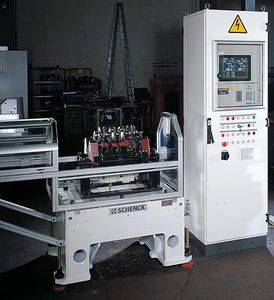
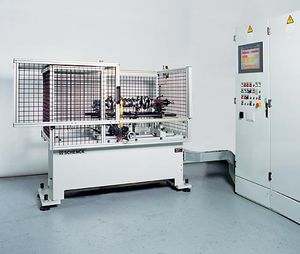
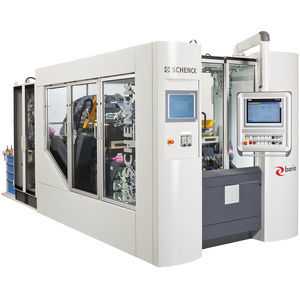
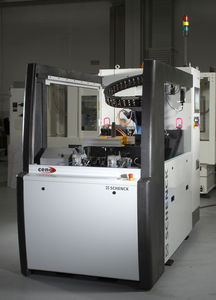
Horizontal balancing machine EBTK seriesdynamicfor crankshaftsuniversal
Add to favorites
Compare this product
Characteristics
- Orientation
- horizontal
- Type
- dynamic
- Applications
- for crankshafts
- Other characteristics
- automatic, modular, universal
- Rotational speed
Min.: 450 rpm
(2,827 rad.min-1)Max.: 600 rpm
(3,770 rad.min-1)- Weight on rotor
Min.: 6 kg
(13.2 lb)Max.: 35 kg
(77.2 lb)
Description
• Universal machine concept
• Automatic unbalance measurement
• Precision positioning during correction
• Microprocessor-controlled measuring unit
Sequence of operations
• Load a crankshaft into the measuring station, manually or by lifting device
• Close the protective shroud. Automatic measuring run and display measured values.
• Open the protective shroud and move the crankshaft to the correction stand.
• Insert the crankshaft into positioning device and couple with angleencoder for optional indexing aid or with locking-pin device
• Drill correction holes one after another corresponding to the display
• Return the crankshaft to the measuring station. Automatic check run and display of residual unbalance.
• Remove the crankshaft. If the crankshaft is still out of tolerance proceed with a second step.
Design
Two-station machine with separate measuring and correction stations. Measuring station with coupling-free roller-drive or hook drive for asymmetrical crankshafts.
Correction station with positioning equipment and electro-mechanical drilling equipment.
Range of application
Measurement and correction of unbalance in machined passengervehicle and light commercial- vehicle crankshafts. Use in small and mid-volume series production or as a repair balancing machine.
Unbalance correction by drilling into the counterweights in one or more steps at a separate drill stand (correction station). Manual handling of the work-pieces between measuring and drilling stations.
Catalogs
No catalogs are available for this product.
See all of SCHENCK RoTec GmbH‘s catalogsOther SCHENCK RoTec GmbH products
Mass-centering machines and balancing machines for crankshaf
Related Searches
- Measuring device
- Measuring machine
- Test stand
- Automatic test stand
- SCHENCK balancing machine
- SCHENCK dynamic balancing machine
- Automatic measuring machine
- SCHENCK horizontal balancing machine
- Diameter measuring machine
- SCHENCK vertical balancing machine
- SCHENCK automatic balancing machine
- SCHENCK rotor balancing machine
- SCHENCK high-accuracy balancing machine
- Material test bench
- SCHENCK modular balancing machine
- SCHENCK hard bearing balancing machine
- SCHENCK fan balancing machine
- Fatigue test stand
- Engine test bench
- SCHENCK universal balancing machine
*Prices are pre-tax. They exclude delivery charges and customs duties and do not include additional charges for installation or activation options. Prices are indicative only and may vary by country, with changes to the cost of raw materials and exchange rates.


