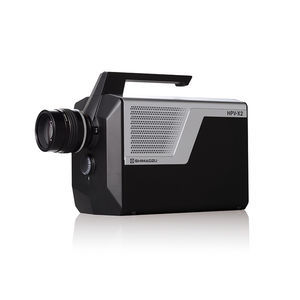
Ultrasonic flaw detector MIV-Xbenchtop
Add to favorites
Compare this product
Characteristics
- Technology
- ultrasonic
- Portability
- benchtop
Description
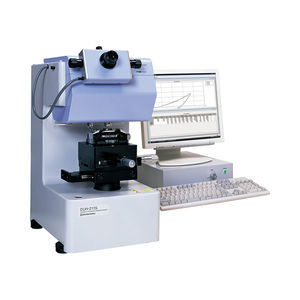
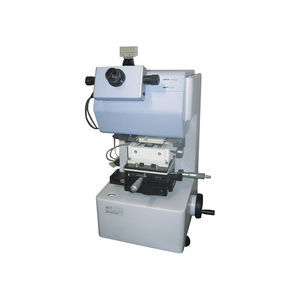
Visualizing Cracks, Voids, Delamination, and Other Hidden Defects Normally Impossible to Check Visually
Anyone Can Quickly and Easily Perform a Visual Surface Inspection
Thanks to Shimadzu’s proprietary light imagining technique,
which combines an ultrasonic oscillator with a stroboscope,
defects near the surface of a material, including peeling of the bonding and adhesive surfaces of heterogeneous materials, as well as paint, thermal sprays, and coatings can be inspected easily and non-destructively.
Simply attach the ultrasonic oscillator to the sample, and position the camera above the inspection surface.
The propagation of the ultrasound is quickly displayed, and flaws are easily identified from the video.
The easy-to-operate software is enhanced with functions to mark the flaws and measure the size easily.
The lineup includes an optional optical zoom set, which can detect smaller flaws.
With ultrasonic optical flaw detection technology, the sample is encouraged the displacement of the surface is detected optically, and the propagation of the ultrasonic wave on the surface is observed.The MIV-X Ultrasonic Optical Flaw Detector assists with regions where ultrasonic testing (UT) is difficult. Leave the non-destructive inspection of surfaces and near surfaces to MIV-X!
The instrument is equipped with a function to digitally remove noise in the window showing the propagation of the ultrasound, simplifying flaw identification.
The instrument is equipped with a user interface that simplifies operations, such as displaying a scale (ruler) on acquired images of cracks and peeling and measuring the distance between two selected points.
Catalogs
No catalogs are available for this product.
See all of Shimadzu France‘s catalogsRelated Searches
- Test machine
- Test cabinet
- Indentation hardness tester
- Material testing machine
- Automatic test machine
- PC-controllable testing machine
- Temperature test cabinet
- Compression test machine
- Benchtop indentation hardness tester
- Digital hardness tester
- Industrial test machine
- Universal test machine
- Tensile test machine
- Precision test machine
- Vickers indentation hardness tester
- Hydraulic test machine
- Automatic indentation hardness tester
- Fatigue test machine
- Resistance test machine
- Digital test machine
*Prices are pre-tax. They exclude delivery charges and customs duties and do not include additional charges for installation or activation options. Prices are indicative only and may vary by country, with changes to the cost of raw materials and exchange rates.


