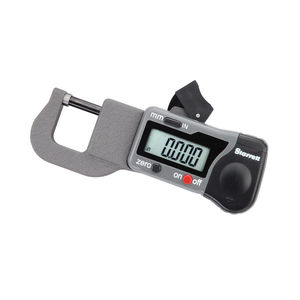
Adjustable snap gauge 1150 series
Add to favorites
Compare this product
Characteristics
- Options
- adjustable
Description
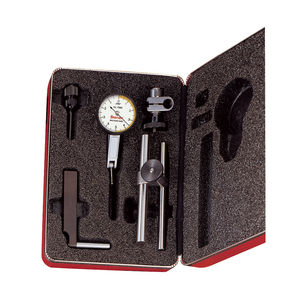
These compact gages have rigid aluminum alloy frames protected from hand heat by insulating handles. They are used to gage outside diameters to an accuracy of .0001". Dimensional variations are transmitted to the dial indicator through a linear friction-free transfer mechanism totally enclosed for protection against side thrust, foreign matter and coolants. Flat gaging contacts simplify measurement close to shoulders. The top sensitive contact may be reversed to present a spherical face to the work. An adjustable backstop simplifies centering the work. 0-2” Range, in Case.
Features
•The contacts and backstop are 5/16" diameter hardened tool steel, precision ground and lapped fl at
•Contacts are individually adjustable to maximum 2" range and are locked in position by tightening parallellock clamps to maintain parallelism of faces
•Both contacts are also keyed to maintain orientation of faces regardless of adjustment
•Plus andr minus are read directly. Dial face has a double row of graduations reading in opposite directions. Red "Minus" and black "plus" grads
•The indicator can be rotated 360º and locked in position to read from any angle, and a fine-adjusting screw provides for zero setting the hand
•A guard protects the dial indicator when the gage is laid down
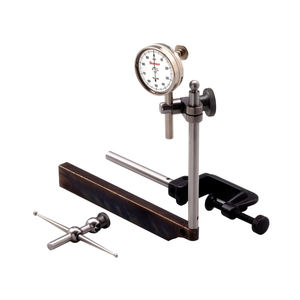
•A bench stand is available to convert the gage to a bench comparator
Catalogs
No catalogs are available for this product.
See all of STARRETT‘s catalogsRelated Searches
- Measuring machine
- Indentation hardness tester
- Benchtop indentation hardness tester
- Digital hardness tester
- Thickness measuring machine
- Rockwell indentation hardness tester
- Micrometer
- Brinell indentation hardness tester
- Optical measuring machine
- Vickers indentation hardness tester
- Automatic measuring machine
- Automatic indentation hardness tester
- Portable indentation hardness tester
- Touch probe head
- Caliper
- Parts measuring machine
- Control measuring machine
- Measurement touch probe head
- Digital micrometer
- Video measuring machine
*Prices are pre-tax. They exclude delivery charges and customs duties and do not include additional charges for installation or activation options. Prices are indicative only and may vary by country, with changes to the cost of raw materials and exchange rates.


