- Company
- Products
- Catalogs
- News & Trends
- Exhibitions
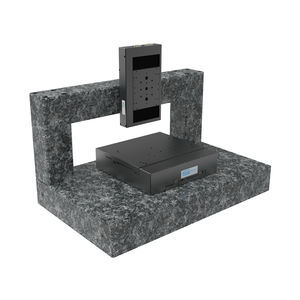
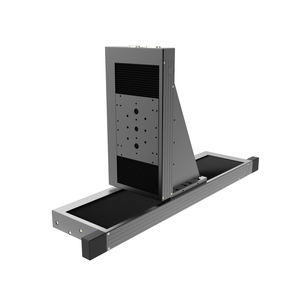
XYZ positioning system 782300:148.26portalball screw
Add to favorites
Compare this product
Characteristics
- Number of axes
- XYZ
- Features
- portal
- Other characteristics
- ball screw
- Repeatability
Max.: 2.5 µm
Min.: 0.3 µm
- Speed
Max.: 1,500 mm/s
Min.: 150 mm/s
Description
Customizable:
• Simultaneous inspection by travels up to 720 mm
• Reduced cycle time with speeds up to 150 mm/s and accelerations of 2 m/s2
• Precise measurement results and enormous quality improvements with repeatability up to 1 µm
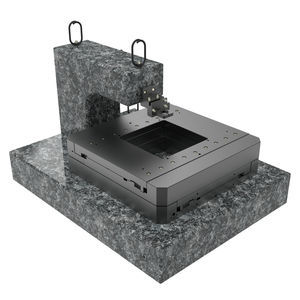
• Low-maintenance 24/7 operation and flexible maintenance concept due to fast system exchange on the granite structure
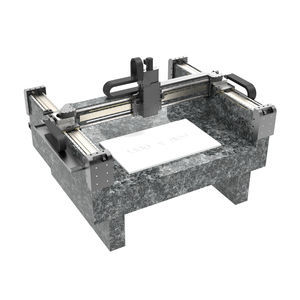
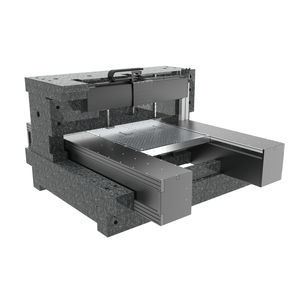
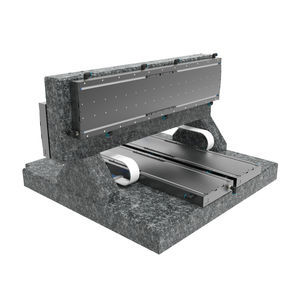
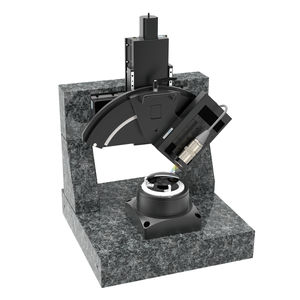
This inspection system (shown here without cover) is specially designed for automated quality assurance. The positioning system allows positioning along two linear axes. A high-resolution camera or sensor is moved relative to the sample to inspect geometries, perform measurements and document special quality features.
Specifications:
- Standardkomponente: PMT290-EDLM (XY)
- Travel: 720 mm (XY) / 100 mm (Z)
- Repeatability: ± 0.3 – ± 0.7 µm (XY) / ± 1.5 – ± 2.5 µm (Z)
- Speed: 750 mm/s (XY) / 150 mm/s (Z)
- Max. load: 150 N (XY) / ± 200 N (Z)
- Drive: Ironless Dynamic Linear Motor (XY) | AC-Servo, Ball Screw (Z)
- Feedback: Linear Scale (XY) | Motor-Encoder (Z)
Customized options:
- Various travels up to 720 mm
- Version for clean room ISO 14644-1 class 2 (up to class 1 on request)
- Optionally with motorized Z-axis
- Connections for dust extraction and rotating belt covers
- With/without frame and base plate made of granite or aluminum
Catalogs
No catalogs are available for this product.
See all of Steinmeyer Holding GmbH‘s catalogsOther Steinmeyer Holding GmbH products
Positioning systems: XYZ-R+ Multi-Axis Systems, Gantry, Portal, Laboratory Stages
Related Searches
- Steinmeyer positioning stage
- Steinmeyer linear positioning stage
- Steinmeyer motorized positioning stage
- Steinmeyer precision positioning stage
- Steinmeyer 1-axis positioning stage
- Manual stage
- Steinmeyer compact positioning stage
- Steinmeyer 2-axis positioning stage
- XY stage
- Steinmeyer rotary positioning stage
- Multi-axis stage
- Steinmeyer aluminum positioning stage
- High-accuracy stage
- Steinmeyer piezoelectric positioning stage
- Steinmeyer industrial positioning stage
- Micrometer-driven stage
- Ball screw stage
- 3-axis stage
- Vertical stage
- XYZ stage
*Prices are pre-tax. They exclude delivery charges and customs duties and do not include additional charges for installation or activation options. Prices are indicative only and may vary by country, with changes to the cost of raw materials and exchange rates.


