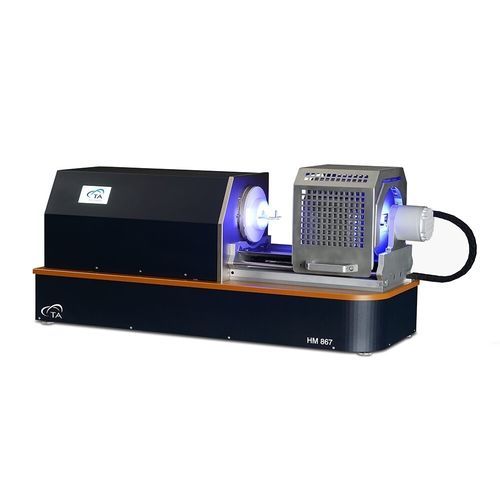
The most innovative tool for production and R&D laboratories for the optimization of all industrial processes involving thermal cycles.
The Optical Dilatometry Platform HM 867 is a stand-alone Heating Microscope that is a standard instrument for process optimization in the ceramics industry. A single camera on the optical bench frames the entire sample and records the sequence of the characteristic shape changes and the temperature throughout the experiment. This is ideal for identifying all key material change events including sintering, softening, full sphere, half-sphere, and melting. Dimension changes up to 100% can be measured. With a maximum temperature scanning rate of 80°C/min, it has a built-in purge gas system that enables the user to test specimens in air, oxidative, reductive and protective atmospheres. The heating microscope is available as a standalone instrument, HM 867, or as an option on the Optical Dilatometry Platform, ODP 868.
Optical measuring system - Optical measuring system equipped with a 5 MPix HiRes videocamera
Operating modes - Heating microscope
International Standards - ASTM D1857, CEN/TR 15404:2010, BS 1016:Part 15:1960, CEN/TS 15370-1:2006, DIN 51730,DM 05-02-1998, IS 12891:1990, ISO 540:1995, NF M03-048
Sample displacement - Bidimensional
Sample number - From 1 up to 8, depending upon samples sizes
Temperature range on specimen - RT – 1600 °C
Temperature resolution - 0,2 °C
Heating rate - 0,1 – 100 °C/min
Resolution - 5ppm with ISO standard sample
Sample dimensions: - ASTM and ISO standards
Reference materials - Gold wire – Palladium wire

