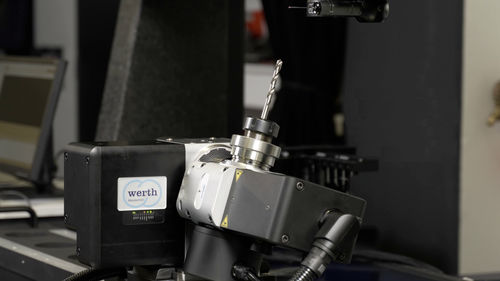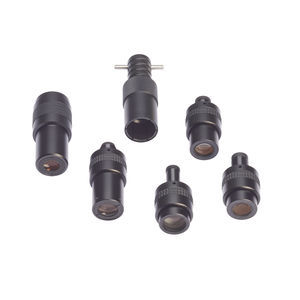
Positioning rotary axe precisionworkpiececompact
Add to favorites
Compare this product
Characteristics
- Type
- precision
- Product applications
- positioning, workpiece
- Other characteristics
- compact
Description
Optimum alignment of all workpiece areas to the sensors
Differently orientated geometric elements such as surfaces or bores can be measured in the optimum alignment with multi-sensor systems. Even large sensors have access to all workpiece areas so that the entire workpiece can be measured without reclamping and the associated loss of time and accuracy. Rotary/tilt axes are available in three different variants: air bearing for maximum accuracy, with mechanical bearings for production and as a compact variant, e.g. for ScopeCheck® S, VideoCheck® S and VideoCheck® MZ.
• Available for almost all Werth measuring machines
• Can be mounted in any arrangement as an accessory
• Replaces complex positioning units for sensors
• Can also be used for large and heavy workpieces thanks to special bearing technology
• Flat surfaces or undercuts can be measured optically with optical sensors
• Small bores can be swivelled into the optical axis for measurement with the Werth Fiber Probe® micro-probe
• Evaluation in workpiece coordinates through complete software integration of the rotation axes
Catalogs
No catalogs are available for this product.
See all of WERTH MESSTECHNIK‘s catalogsRelated Searches
*Prices are pre-tax. They exclude delivery charges and customs duties and do not include additional charges for installation or activation options. Prices are indicative only and may vary by country, with changes to the cost of raw materials and exchange rates.


