
- Products
- Catalogs
- News & Trends
- Exhibitions
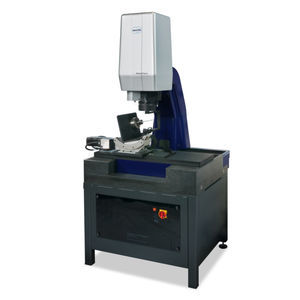
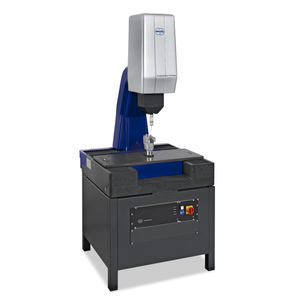
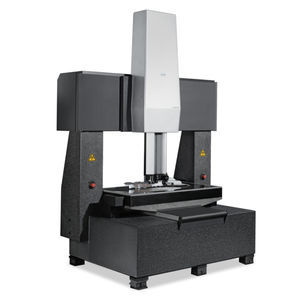
Coordinate measuring machine FlatScope® dimensionalvideooptical

Add to favorites
Compare this product
Characteristics
- Measured physical value
- coordinate, dimensional
- Technology
- video, optical
- Operating mode
- automatic
- Measured material
- parts, for PCB, for profiles, foil
- Applications
- for industrial applications
- Other characteristics
- high-precision, high-speed
Description
World's most accurate 2D scanner for measuring flat workpieces
Fast optical 2D measurements with high accuracy requirements for shopfloor and measuring room
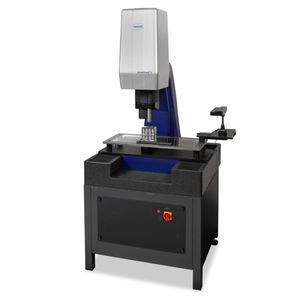
The FlatScope has an innovative design principle in which the image processing sensor is located under the glass plate for supporting the measuring objects. Therefore, all workpieces are imaged sharp without time-consuming focusing. With the FlatLight, uniform telecentric object illumination is possible throughout the entire measuring range, and with contour image processing, contour and element filters are available for reliable measurements. The area of application is the measurement of larger 2D workpieces such as foils, printed circuit boards, laser and fine blanking parts.
• Automatic alignment of workpieces placed on the measuring table possible with AutoAlign and capture with patented Raster Scanning HD operating mode
• Overall image with almost any resolution by resampling the information from all (superimposed) single images with patented raster scanning HD
• Fast "in the image" evaluation without positioning the device axes
• High flexibility through additional brightfield and darkfield incident light (zoom optics with MultiRing® possible)
Vibration-isolated installation on air springs with mechanical-pneumatic level control
• Functional testing and colour-coded deviation plot with Werth BestFit or ToleranceFit®
Type
2D CNC image processing measuring machine in closed design with telecentric imaging optics
Accuracy
Permissible length measurement error up to 2.5 µm
VIDEO
Catalogs
The Multisensor_2015
20 Pages
Related Searches
- Measuring machine
- Optical measuring machine
- Automatic measuring machine
- Laser scanning system
- Measurement scanning system
- High-precision measuring machine
- Touch probe head
- Measuring system for industrial applications
- Parts measuring machine
- Distance measuring machine
- Measurement touch probe head
- CMM
- Laser measurement system
- Video measuring machine
- Inspection scanning system
- 2D scanning system
- High-speed scanning system
- Dimensional measuring machine
- 3D measuring machine
- Length measuring machine
*Prices are pre-tax. They exclude delivery charges and customs duties and do not include additional charges for installation or activation options. Prices are indicative only and may vary by country, with changes to the cost of raw materials and exchange rates.

