
- Products
- Catalogs
- News & Trends
- Exhibitions
Non-contact confocal sensor NFP

Add to favorites
Compare this product
Characteristics
- Other characteristics
- non-contact
Description
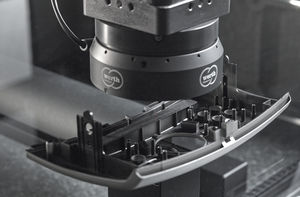
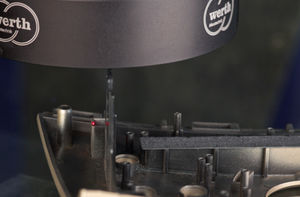
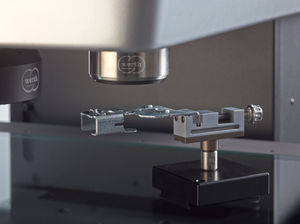
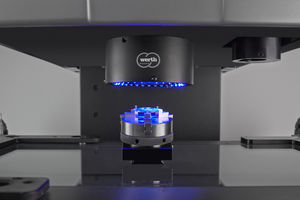
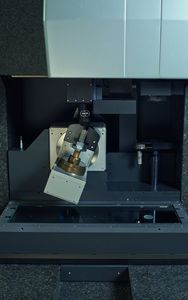
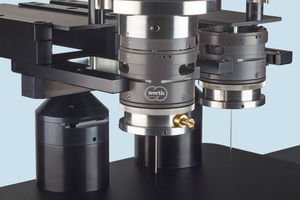
With the Nano Focus Probe, the workpiece surface can be captured as a 3D point cloud and the size, mould, position and roughness on micro-structures can be evaluated. Stray light suppression enables reliable 3D measurement of the topography even of reflective surfaces with probing errors in the submicrometre range. The confocal optical sensor also delivers good results on steep flanks with large angles of inclination.
• Different lenses allow the sensor to be adapted to the task at hand
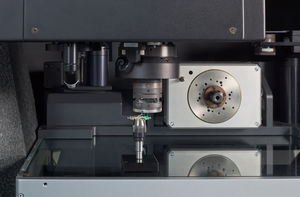
• The sensor can be used in the entire measuring volume of the coordinate measuring machine and the measurement results can be linked in the same coordinate system
• A total surface can be calculated from several adjacent partial point clouds almost without loss of accuracy
Measuring range
Measurement "in the image" with integrated Z-axis 250 µm
Accuracy
Permissible probing error up to 0.15 µm
Functionality
By moving the probe head with a) illumination, b) camera, c) pinhole and d) imaging optics relative to the workpiece e) the intensity of the light points f), g) is varied by defocusing. The overlapping of the defocused light points f) is avoided by large distances g).
Catalogs
The Multisensor
20 Pages
Related Searches
- Distance sensor
- Displacement transducer
- Linear displacement transducer
- Analog displacement transducer
- Non-contact displacement transducer
- Laser distance sensor
- Cylindrical distance sensor
- Precision displacement transducer
- Precision distance sensor
- Compact distance sensor
- High-precision displacement transducer
- Non-contact distance sensor
- X-ray detector
- Combination detector
- Optical distance sensor
- Small distance sensor
- High-speed displacement sensor
- Transparent displacement sensor
- Optical displacement sensor
- Confocal sensor
*Prices are pre-tax. They exclude delivery charges and customs duties and do not include additional charges for installation or activation options. Prices are indicative only and may vary by country, with changes to the cost of raw materials and exchange rates.


