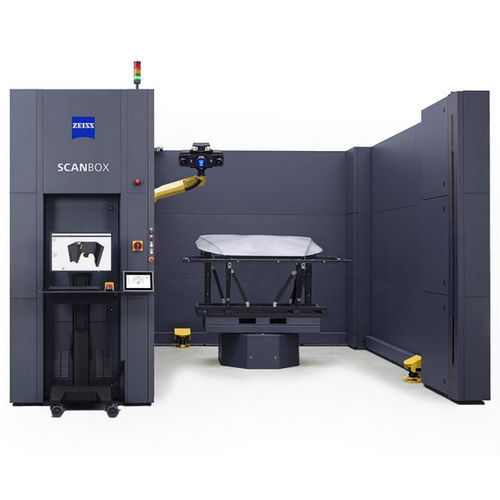
In the production environment, it is important to identify, analyze and eliminate quality problems as fast as possible. For that, as many parts as possible have to be completely checked in the shortest amount of time to be able to initiate targeted corrective measures at short notice and to minimize scrap. Master this challenge with ATOS ScanBox Series 6: Two different variants provide fully automatic surface deviations between the complete 3D actual coordinates and the CAD data in the shortest possible time.
Designed for quality assurance of large and heavy parts
Simultaneous loading and measurement for increased throughput
High flexibility thanks to quick part changes
Monitor production processes & reduce scrap
Loading and measuring at the same time
Provision of additional measurement data in the shortest possible time
With the optical 3D measuring machine ATOS ScanBox 6235, you can increase your throughput - thanks to two working areas that can be operated independently of each other. You can place your parts, such as doors, tailgates or battery modules with a size of up to 3500 mm and a maximum weight of 5000 kg, in both working areas or on the rotation tables. Both working areas are operated safely due to the automatic doors.
Quick loading and unloading
Optimized planning for efficient workflows
The entry areas are constructed very wide and allow an uncomplicated use of loading machines such as cranes, forklift trucks or pallet trucks. Hang-on parts can be measured more quickly with ATOS ScanBox 6135 and 6235 with a multi-part fixture, as it is not necessary to change the measuring fixture.


