- Metrology - Laboratory
- Analytical Instrumentation
- Power probe
- ZSY Group Ltd.

- Products
- Catalogs
- News & Trends
- Exhibitions
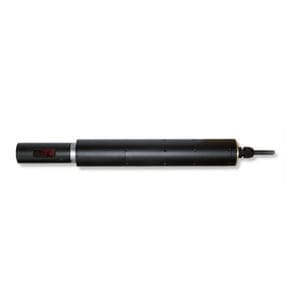
Power probe ZLDS104 serieslaserfor surface inspectionmeasurement


Add to favorites
Compare this product
Characteristics
- Measured value
- power
- Technology
- laser
- Applications
- for surface inspection
- Domain
- measurement, safety
- Other characteristics
- non-contact, RS232
Description
Laser probes are designed for non-contact measurement and control of the geometric parameters of holes.
It is also possible to order configurations other than those listed below.
The probes make use of an c.w. 660 nm (or 405 nm or 450 nm) wavelength semiconductor laser. Maximum output power is 1 mW. The probes belong to the 2 laser safety class.
Order information for Laser Triangulation Sensor
Symbol - Description
Rt - Probe with a built-in slip ring.
(BLUE) - Blue laser option (405 nm or 450 nm). Only for 16/48 probes.
X - Minimum controlled diameter, mm.
D - Maximum controlled diameter (when the probe is located along the hole axis), mm.
L - Probe length (prior consultation with the manufacturer is required).
SERIAL - Type of serial interface for RF609Rt: 232 (RS232) or 485 (RS485)
ANALOG - Attribute showing the presence of analog output for RF609Rt: 4…20 mA (I) or 0…10 V (U).
M - Cable length, m.
-Application area-
Contactless measurement of inner diameter, ovality, coaxiality, cylindricity and shape of holes, tubes, hosepipes, bushes, gun barrels,etc.
-Measuring principle-
The measuring principle is illustrated in Figure. The laser probe is inserted into the controlled hole. The probe or the part is driven in rotation. A triangulation laser sensor, which is built into the probe, measures the distance to the hole surface synchronously with the angle of rotation. The resulting set of polar coordinates is used to calculate the geometric parameters of the hole. Moving the probe along the hole allows you to get the geometric parameters of the hole in different sections and build a 3D model of the inner surface.
*Prices are pre-tax. They exclude delivery charges and customs duties and do not include additional charges for installation or activation options. Prices are indicative only and may vary by country, with changes to the cost of raw materials and exchange rates.

